Cleaning your rangehood is surprisingly straightforward. You see, it really just comes down to dissolving grease from the filters and wiping down the surfaces. Most of the time, all you need is some hot water and a good degreaser… like dish soap or bicarb soda… to soak the filters. A bit of a scrub, a rinse, and a thorough dry, and they're ready to go back in.
Why You Need to Clean Your Rangehood
Let's talk about that appliance humming away above your stove. It’s one of the unsung heroes of the kitchen, isn't it? It faithfully pulls steam, smoke, and cooking smells out of the air so your house doesn't smell like last night's fish and chips for three days straight.
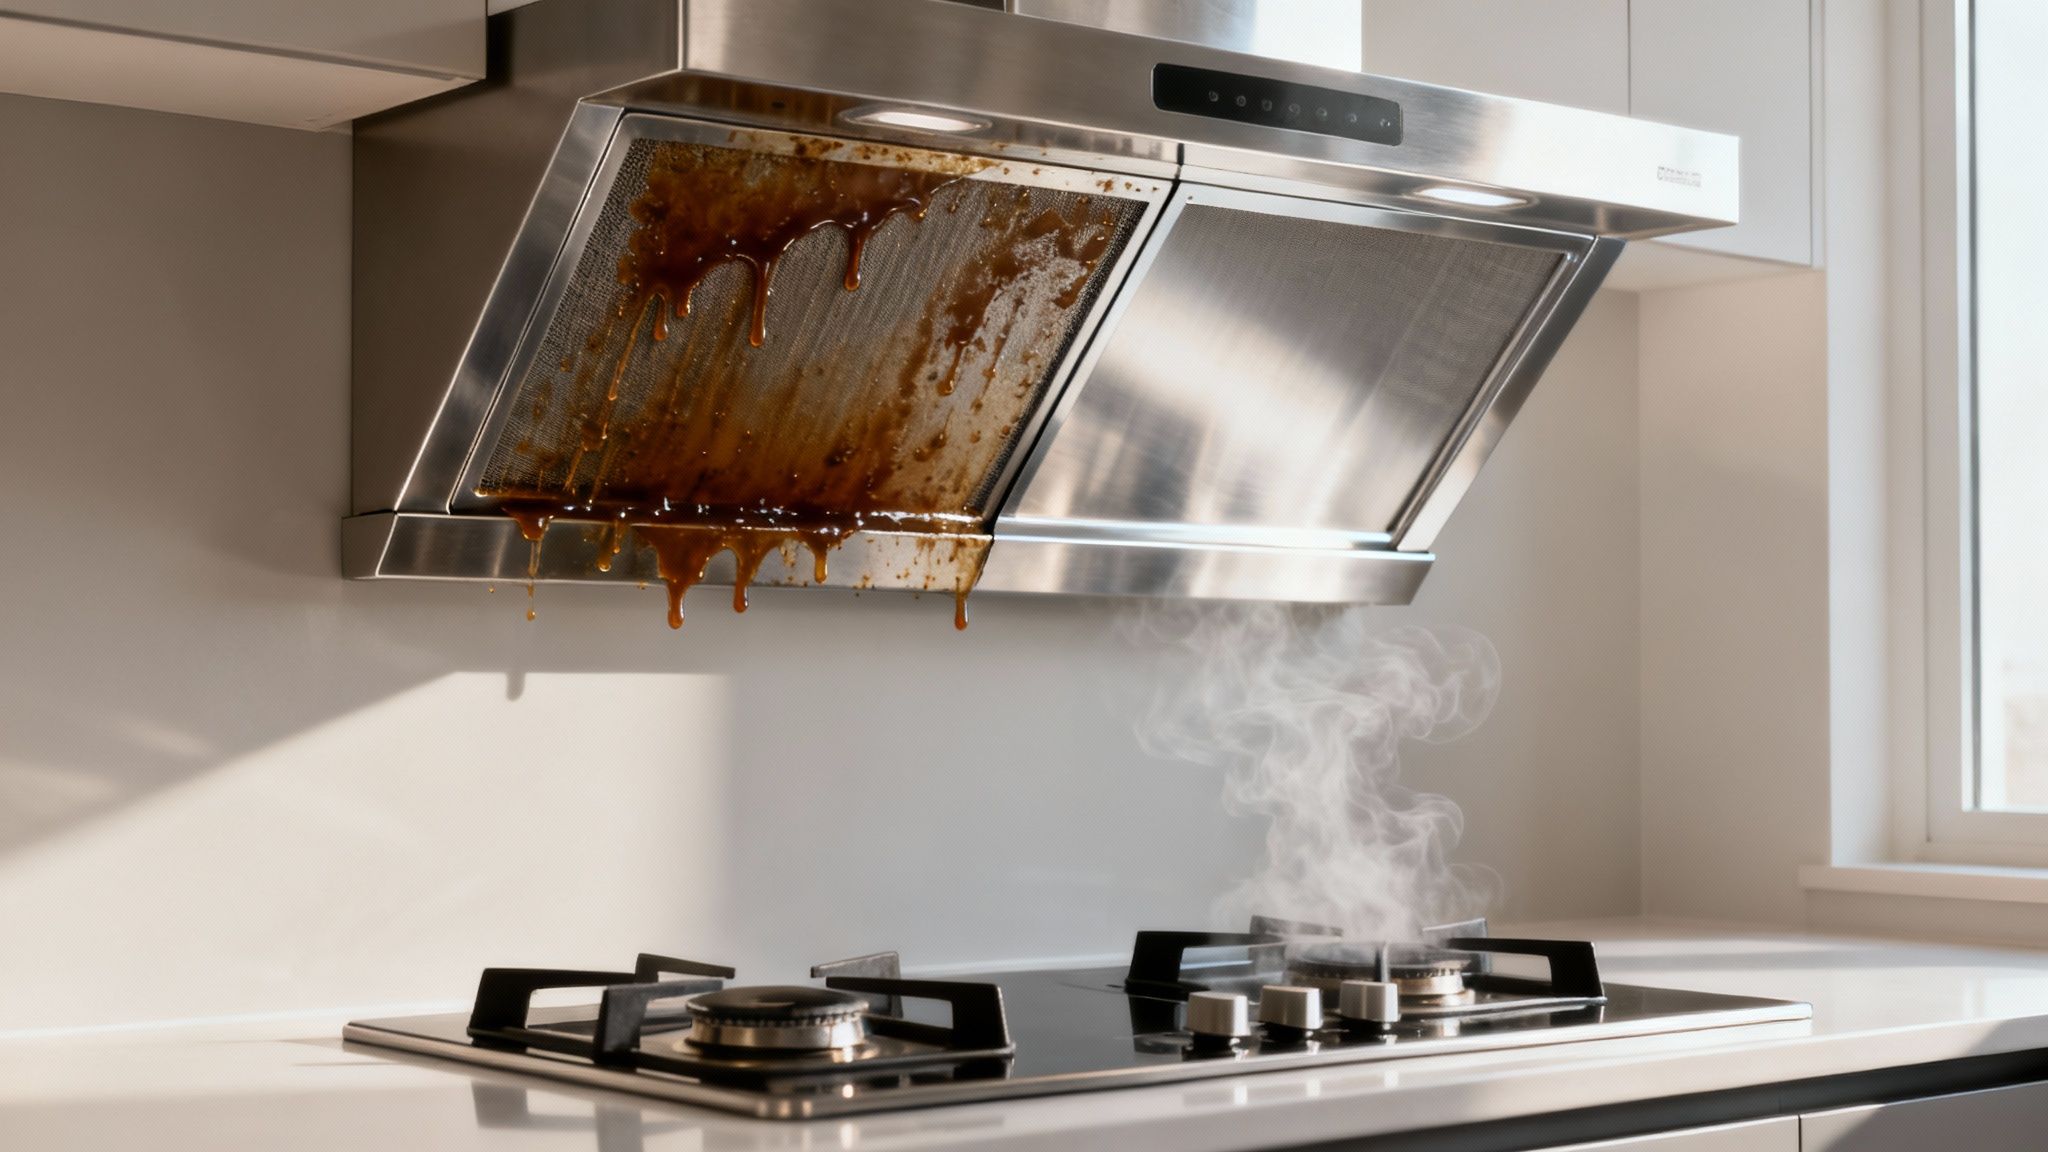
But while it's working, it's also collecting a hidden, sticky layer of grease. Over time, that build-up isn't just a bit unsightly. It's a legitimate hazard.
It's All About Safety First
The most important reason to learn how to clean rangehoods is fire safety. Seriously. That greasy film is highly flammable. A simple cooking flare-up could ignite the residue, turning a minor kitchen mishap into a very dangerous situation. It’s a silent risk that’s incredibly easy to prevent.
In fact, the problem is so significant that an estimated 70% of commercial kitchen fires in Australia are linked to poorly cleaned exhaust systems. That one statistic really highlights just how critical regular maintenance is.
Better Air and a Happier Appliance
Beyond the fire risk, a clean rangehood just works better. When the filters get clogged with grease, the fan has to work much harder to pull air through. This means a few things start to go wrong:
- Reduced Efficiency: It won't clear smoke and steam as effectively. Your kitchen feels stuffy and damp.
- Lingering Odours: Those cooking smells will hang around for longer because the air isn't being circulated properly. It's a similar principle to why good ventilation in a bathroom is so important for preventing moisture issues.
- Increased Strain: The motor is under more stress, which can shorten the appliance's lifespan and lead to costly repairs down the track.
Think of it like trying to breathe through a stuffy nose. Your body has to work overtime just to get the air it needs. A clogged rangehood filter forces your appliance to do the exact same thing.
To fully grasp the critical role of rangehoods, it helps to see them as part of a bigger system. You can explore this comprehensive guide to commercial kitchen ventilation systems to learn more about their components and upkeep. At the end of the day, keeping it clean is a small task that pays off big time in safety, efficiency, and air quality.
Getting Your Cleaning Supplies Ready
Before you dive in and start pulling your rangehood apart, let’s get everything you need organised. Trust me on this one. There’s nothing worse than getting halfway through, with greasy hands and a half-soaked filter, only to realise the one thing you need is still in the garage. It completely kills your cleaning mojo.
So, let's set you up for a smooth, interruption-free clean. Think of it as your kitchen mission prep.
What You'll Need to Get Started
You don't need a whole arsenal of expensive, specialised products to get this job done right. In fact, most of the essentials are probably already lurking in your cupboards. It’s all about having the right tools ready to go before the grease starts flying.
To make things easy, here’s a quick checklist of everything you’ll need to have on hand. It covers the absolute must-haves for a basic clean, plus a few other tools that can make the job even easier if you have them.
Your Rangehood Cleaning Checklist
| Category | Essential Items | Optional DIY and Pro Tools |
|---|---|---|
| Safety Gear | Good quality rubber gloves | Safety glasses or goggles |
| Protection | Old towels or newspaper | Plastic drop sheet |
| Soaking | A large bucket or a clean sink with a plug | A large plastic tub (for oversized filters) |
| Scrubbing | A non-abrasive scrub brush or an old toothbrush | A soft-bristled bottle brush (for tight spots) |
| Wiping & Polishing | Microfibre cloths | Paper towels |
| Cleaning Agents | Bicarb soda | Commercial citrus-based degreaser, White vinegar in a spray bottle |
Having everything within arm's reach before you start makes the whole process feel less like a dreaded chore and more like a satisfying weekend project.
Choosing Your Degreasing Weapon
This is where you have a couple of solid options, and honestly, one isn't necessarily better than the other. It really just comes down to the level of grease you're up against and what you feel comfortable using in your kitchen.
The Homemade Hero: Bicarb Soda
You’d be amazed at what simple pantry items can do. For most home rangehoods, a simple solution of hot water and bicarb soda is surprisingly powerful at cutting through built-up grease. It’s a brilliant, cheap, and fume-free option that works like a charm. We'll get into the exact method a bit later, but just know it's a serious contender. A bit of white vinegar in a spray bottle is also fantastic for wiping down the stainless steel exterior afterwards.
The Store-Bought Powerhouse
If you're facing a serious, baked-on grease situation… maybe it’s been a little too long between cleans… then a commercial degreaser might be your best bet. Look for a citrus-based product; they’re often incredibly effective without that overwhelming chemical smell. Just make sure you read the label and follow the instructions, as some can be quite concentrated.
A quick word on safety: seriously consider popping on some safety glasses, especially if you're using a spray-on chemical cleaner. Degreaser splashing back into your eye is absolutely no fun and can happen in a split second.
Once you've got all your gear assembled, you're officially ready for the main event. Now, let’s get stuck into the grimy part.
How to Clean Rangehood Filters
Right, this is where the real transformation happens. The filters are the lungs of your rangehood, doing all the heavy lifting to trap airborne grease. Naturally, this means they're usually the grimiest, stickiest part of the whole setup.
Let's walk through how to tackle them. We’ll start with getting them out safely (no wrestling required) and then dive into the best cleaning methods for the two most common types you’ll find in Australian kitchens: mesh and baffle filters. Think of this less as a chore and more as a deeply satisfying kitchen project.
Getting the Filters Out Safely
First things first, you need to get the filters out. Most rangehoods are designed to make this pretty simple. Look underneath, and you’ll usually find a small latch, a sliding mechanism, or a little handle on each filter.
- For latch systems: Just press or pull the latch, and the filter should swing down on one side, allowing you to lift it out.
- For sliding systems: You might need to slide the filter to one side to release it from the track.
- For spring-loaded clips: Gently push the filter up and pull it out towards you.
Don’t force anything. If it feels stuck, it’s probably just caked in grease. A little wiggle is usually all it takes. Once they’re out, lay them on some old towels or newspaper to protect your benchtops from the inevitable greasy drips.
This three-step process is the foundation of any good clean: get your space ready, use the right cleaner, and finish the job properly.
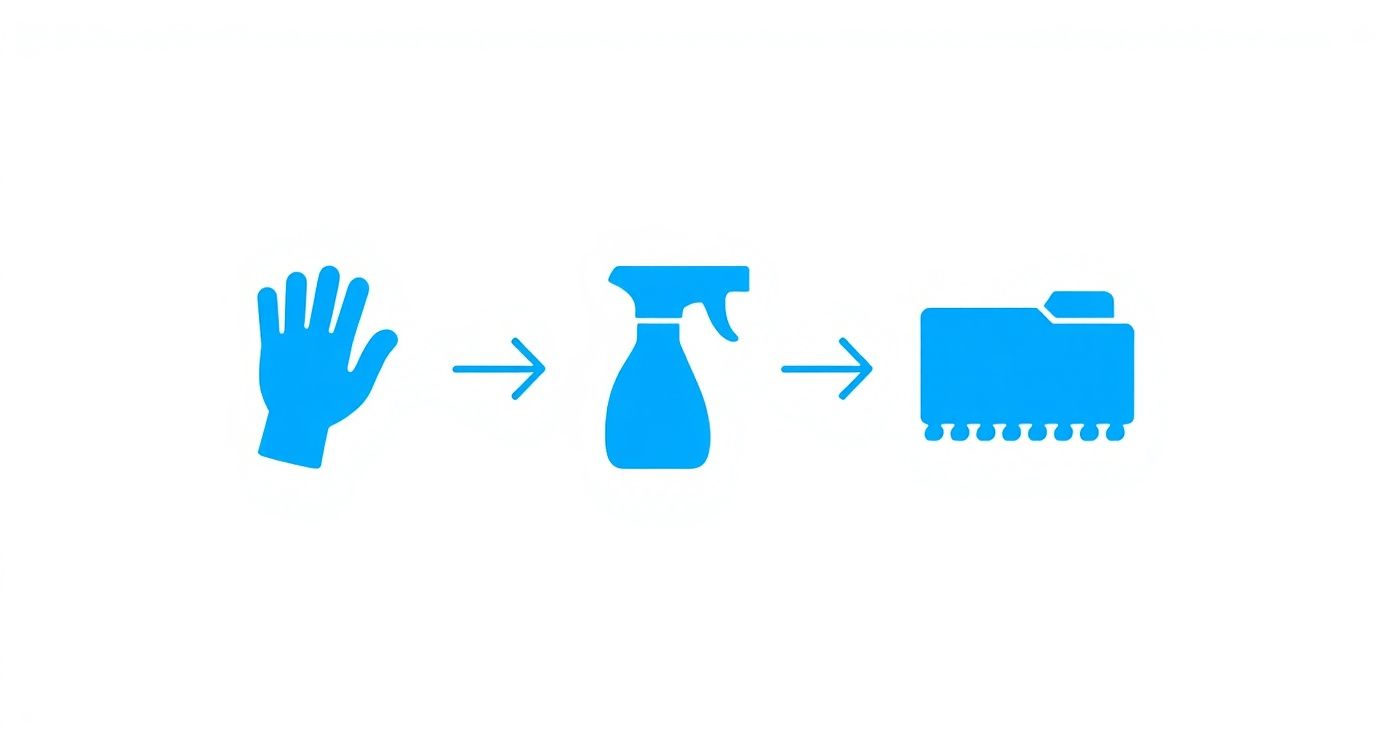
It’s a simple flow that applies perfectly here… protect your benchtops, use a degreasing solution to clean the filters, and then wipe them dry before putting them back.
How to Clean Mesh Filters
Mesh filters are the ones that look like a fine metal screen, often made from layers of aluminium. They’re fantastic at trapping grease, but they can also be a bit delicate, so you don’t want to be too aggressive with them.
The best method is a good, long soak. It does all the hard work for you.
- Prepare the Soak: Start by boiling a large pot of water. While that's heating up, plug your kitchen sink and place the filters inside, lying flat if you can. If they don’t fit, a large tub or even the bathtub will work… just make sure you clean it thoroughly afterwards!
- Add Your Cleaner: Sprinkle a generous amount of bicarb soda directly onto the filters. About half a cup should do the trick. The bicarb soda creates an alkaline solution that is brilliant at dissolving grease.
- Pour and Wait: Carefully pour the boiling water into the sink until the filters are completely submerged. You'll see it fizz and bubble as the bicarb soda gets to work. Now, just walk away. Let them soak for at least 20-30 minutes, or even up to an hour for really stubborn grease.
- Gentle Scrub and Rinse: After the soak, a lot of the grease will have simply melted away. Use a non-abrasive brush (an old toothbrush is perfect) to gently scrub away any remaining residue. Rinse them thoroughly under hot running water and hold them up to the light to check for any missed spots.
A word of warning: Avoid putting aluminium mesh filters in the dishwasher. The combination of high heat and harsh detergents can cause the metal to oxidise and discolour, leaving them looking dull and tarnished. The gentle soaking method is much safer and just as effective.
How to Clean Baffle Filters
Baffle filters are the sturdier, commercial-looking ones, usually made from stainless steel with wavy, interlocking panels. They're designed to be more robust, which is great news for cleaning.
Many baffle filters are dishwasher-safe. What a relief, right?
If yours are, simply pop them in the dishwasher on a hot cycle. It's the easiest, most hands-off way to get them sparkling clean. However, it's always best to check your rangehood’s manual first, just in case. If you can't find the manual, a quick search for your model online should give you the answer.
If the dishwasher isn’t an option or you prefer the hands-on approach, the process is very similar to cleaning mesh filters, but you can be a bit more vigorous.
- Soak Them: Use the same hot water and bicarb soda method. Because they're stainless steel, you can also use a good quality commercial degreaser without worrying about damaging the finish.
- Scrub Away: Baffle filters can handle a bit more elbow grease. Use a non-abrasive brush or scourer to scrub inside the channels where grease loves to hide.
- Rinse and Dry: Give them a final rinse with hot water to wash away any leftover soap or grease. Let them air dry completely or wipe them down with a microfibre cloth before putting them back. A completely dry filter is essential to prevent any water from dripping onto your cooktop.
Australian consumer research group CHOICE agrees that simple methods are often best. They recommend cleaning filters every 1 to 3 months, increasing the frequency if you do a lot of frying or have a gas cooktop. Their findings show that for most metal filters, a simple soak in hot, soapy water is all it takes to restore them to their former glory.
Cleaning the Hood Fan and Surfaces
Alright, your filters are clean and happily drying. Now it’s time to give the rest of the unit some much-needed attention. This is the part that really makes a huge difference, tackling the surfaces and the fan that you see… and the parts you don't.
We're going to cover the exterior canopy first because that's what everyone notices. Then we’ll carefully move inside to deal with the fan blades and the housing. It might seem a little intimidating, but we'll walk through it together.
Wiping Down the Exterior Surfaces
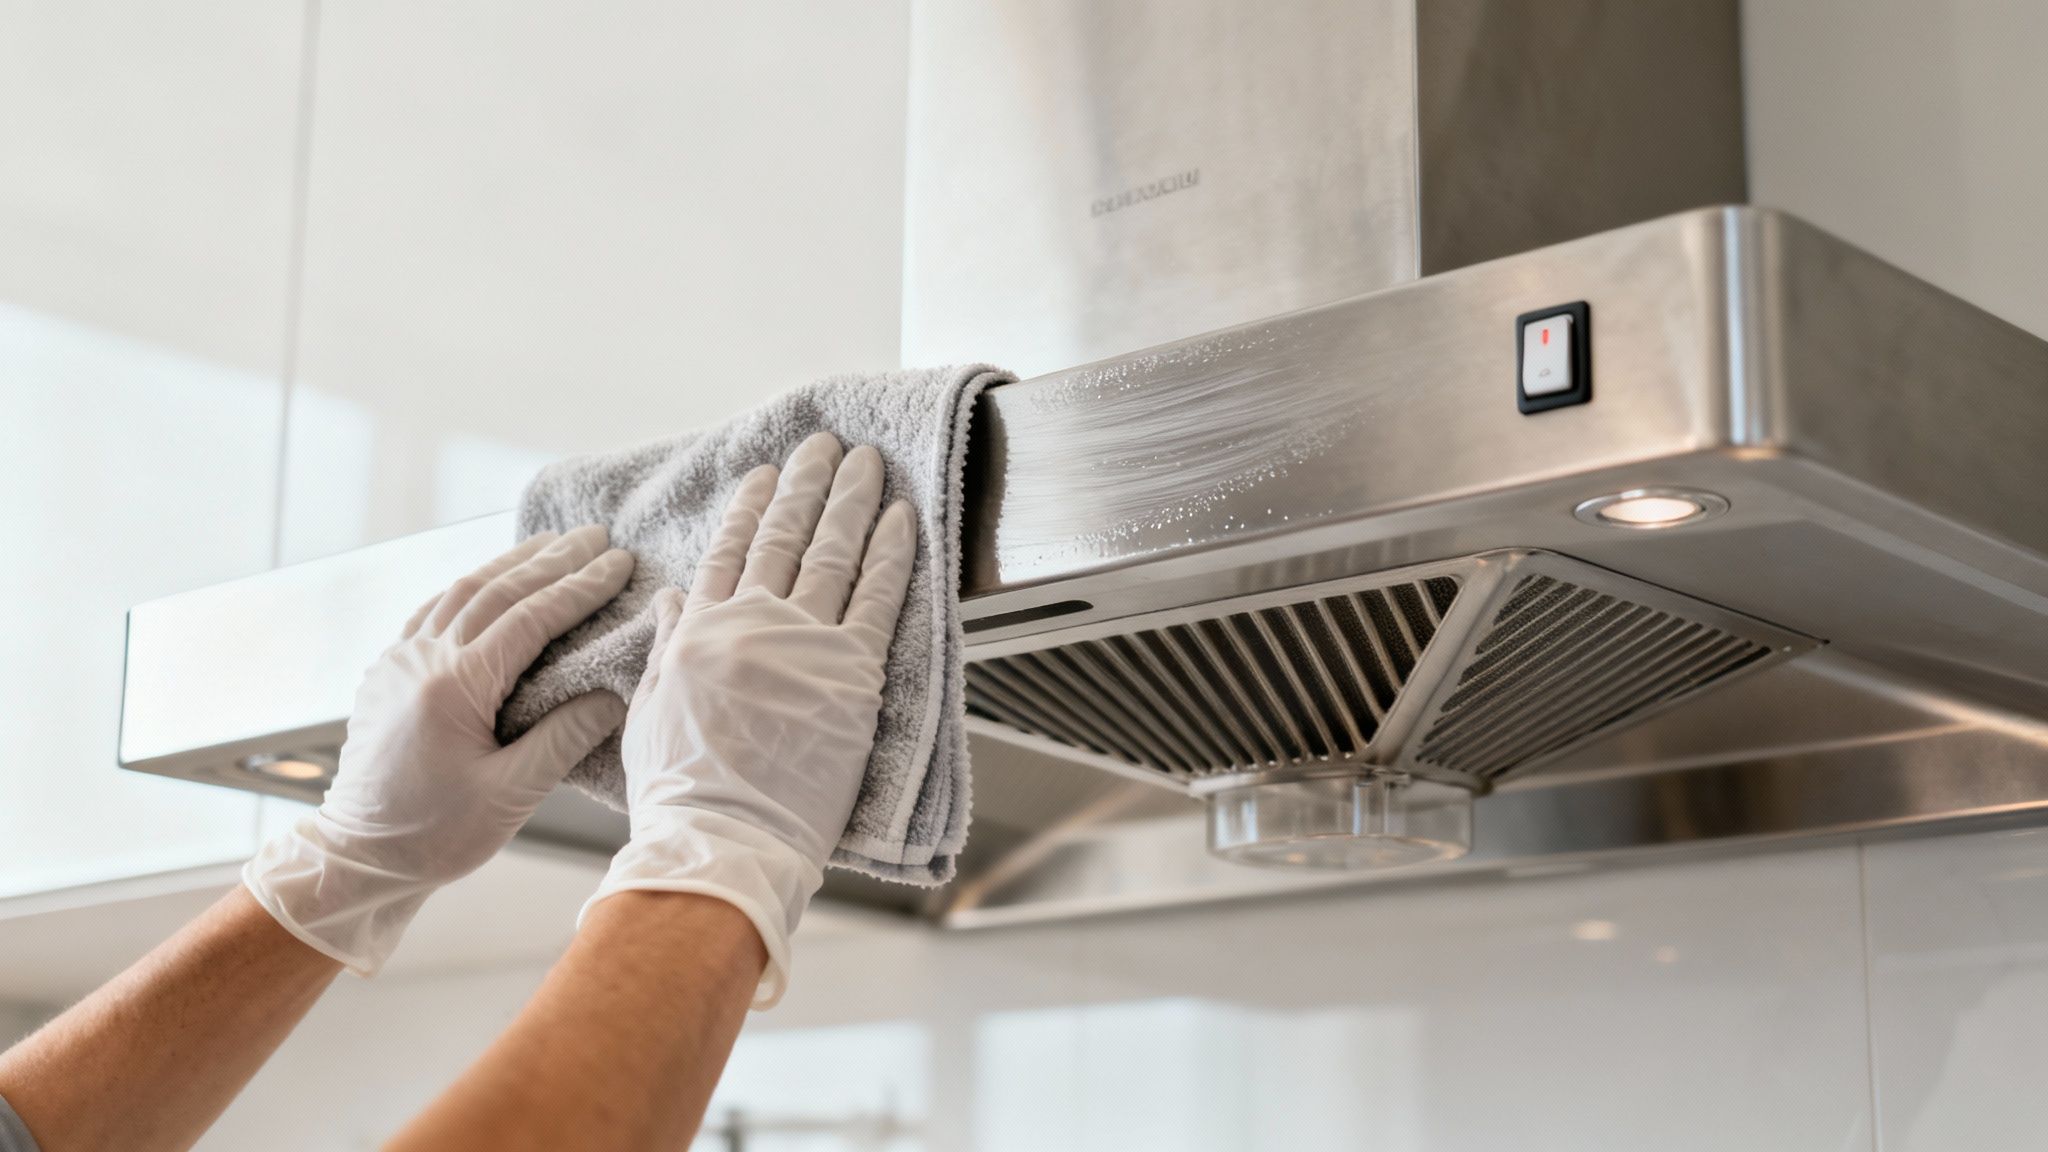
The outside of the rangehood is a magnet for a fine, sticky layer of airborne grease. You might not even realise it's there until you touch it. The best way to clean it depends entirely on the material you're working with.
For most painted or powder-coated surfaces, a simple spray of warm, soapy water and a wipe-down with a microfibre cloth is perfect. Just be sure to dry it afterwards to prevent any water spots from forming.
But let's talk about the big one: stainless steel. It looks amazing, but it can be a real pain to get a perfect, streak-free finish. It's a bit like cleaning glass, where every little smudge shows. If you’ve ever battled with streaks before, our guide on how to clean the glass in your oven door shares some similar principles for getting that perfect finish.
The secret to streak-free stainless steel is to always wipe with the grain. Look closely at the surface, and you'll see faint lines. Wiping in the same direction as these lines makes a world of difference.
Here’s a trick I've used countless times for a flawless finish:
- Cut the grease: Lightly spray a microfibre cloth with a 50/50 solution of white vinegar and water. Wipe down the entire surface, following the grain. This will cut right through that greasy film.
- Add a protective polish: Grab a second, completely dry microfibre cloth and add a tiny dab of olive oil or mineral oil to it. Just a few drops will do the trick.
- Buff to a shine: Using that second cloth, buff the entire surface, again moving with the grain. This removes any leftover cleaner and leaves a beautiful, uniform shine that also helps repel future fingerprints.
Safely Cleaning the Fan and Motor Housing
Okay, now for the internal bits. This is where safety is absolutely non-negotiable. Before you even think about reaching inside, you must cut the power to the rangehood completely.
Don't just turn it off at the wall switch. Go to your home's circuit breaker and flip the switch that controls your kitchen appliances. This ensures there is zero chance of the fan accidentally turning on while you're working. Safety first. Always.
Once the power is definitely off, you can get to work.
Accessing and Wiping the Fan Blades
With the filters removed, you should have a clear view of the fan, which is sometimes called a blower or squirrel cage. Over time, these blades get coated in the same grime as the filters, which can throw the fan off balance, make it noisy, and reduce its effectiveness.
Most of the time, you don’t need to remove the fan itself. That can get complicated fast. A good, thorough wipe-down is usually all that’s needed.
- Prep your cloth: Grab a clean cloth and dampen it with your degreasing solution… warm, soapy water works great here. Wring it out really well. You want it damp, not dripping, as you don’t want any excess water getting near the motor.
- Wipe each blade: Carefully wipe down each fan blade individually. You might need an old toothbrush or a small bottle brush to get into the tight corners and dislodge any stubborn gunk.
- Clean the housing: Use the same damp cloth to wipe around the inside of the fan housing. This area often collects a surprising amount of sticky residue.
- Do a final dry wipe: Go over everything one last time with a dry cloth to pick up any remaining moisture.
This simple step reduces strain on the motor and can even make your rangehood run a little quieter. Once everything is clean and completely dry, you’re ready for the final step of putting it all back together.
Creating a Simple Maintenance Routine
You’ve put in the hard work, and your rangehood is finally sparkling. It looks great, smells fresh, and it's actually pulling steam out of the kitchen again. So… how do you keep it that way without having to block out another whole Saturday for a deep clean next month?
The secret is to stop thinking of it as one big, daunting job and start treating it as a few small, manageable habits. It's all about creating a simple maintenance routine that actually fits into your life, not the other way around.
Match Your Routine to Your Cooking Style
There’s no one-size-fits-all cleaning schedule for a rangehood. It really comes down to how you use your kitchen. Someone who loves frying up a steak dinner several times a week is going to see grease build up much faster than someone who mostly steams vegetables or uses an air fryer.
Take a moment to think about your own cooking habits to find a rhythm that works for you.
- The Frequent Fryer: If you’re often cooking with oil at high temperatures, a quick filter check every few weeks is a smart move. A full deep clean every one to two months will keep things under control.
- The Everyday Cook: For those who cook most nights but mix up their methods… roasting, boiling, simmering… a monthly filter clean and a deep clean every three months is a solid plan.
- The Occasional Chef: If you eat out a lot or stick to simpler, less greasy meals, you can probably stretch it out. Cleaning the filters every two months and a full clean every four to six months should do the trick.
The goal isn't to be rigid, it’s just about being mindful. Proper extraction is a huge factor in kitchen safety, and Australian data shows that many homes go way too long between cleans. With up to 40% of users unaware that their rangehoods need cleaning every three months or sooner, that built-up grease can reduce its efficiency by up to 30%.
Listen to the Clues Your Rangehood Gives You
Your rangehood will actually tell you when it needs a clean. You just have to know what to look and listen for. Think of these as little warning signs that it’s time to take action before it becomes a bigger job.
Your rangehood is a bit like a car. You don’t just wait for it to break down completely before you check the oil. Paying attention to the small signs helps you prevent bigger problems down the line.
Keep an eye (and an ear) out for things like:
- Unusual Noises: A rattling or louder-than-usual humming can mean the fan is off-balance due to grease build-up.
- Poor Smoke Clearance: If your kitchen still feels smoky or steamy minutes after you've finished cooking, the filters are likely clogged and struggling.
- A Sticky Surface: Run your finger over the hood. If it feels tacky or greasy to the touch, it’s definitely time for a wipe-down.
For larger commercial spaces, maintaining this equipment is even more critical. Our work in commercial kitchen cleaning shows just how quickly heavy-duty use can lead to serious build-up and fire hazards. But for your home, these simple checks are all you need to stay on top of it.
Common Rangehood Cleaning Questions
Even with the best game plan, a few questions always pop up in the middle of a cleaning job. That’s perfectly normal. We’ve pulled together some of the most common queries we hear so you can get quick, clear answers and finish the job with confidence.
Think of this as your go-to guide for those "hmm, I wonder…" moments.
Can I Put My Rangehood Filters in the Dishwasher?
This is probably the number one question we get, and the short answer is… it depends. It all comes down to the material your filters are made from.
As a general rule, those heavy-duty, commercial-looking stainless steel baffle filters are more than tough enough to handle a dishwasher cycle. In fact, it's a brilliant, low-effort way to get them sparkling. Go for it.
However, the more common aluminium mesh filters are a completely different story. They're much more delicate. The combination of high heat and harsh detergents inside a dishwasher can cause them to discolour, tarnish, or even start to break down over time.
The best advice? Check your rangehood’s user manual. If you can’t find it, play it safe: sturdy baffle filters are usually fine for the dishwasher, while the flimsy-feeling mesh ones are much better off being washed by hand in the sink.
What Is the Best Homemade Degreaser?
You really don’t need to reach for a powerful chemical cleaner to get fantastic results. One of the most effective DIY degreasers can be whipped up with a couple of things you almost certainly have in your pantry right now.
The most popular and effective recipe is beautifully simple: boiling water and bicarb soda.
- Fill your sink or a large pot with boiling water.
- Carefully add about half a cup of bicarb soda. Just be mindful that it will fizz up quite dramatically for a moment.
- Submerge your filters in this hot, alkaline solution for about 20-30 minutes and just let it work its magic, dissolving all that built-up gunk.
For wiping down surfaces, a paste made from bicarb soda and a little water works wonders as a gentle, non-abrasive scrub. A spray bottle filled with equal parts white vinegar and warm water is also brilliant for cutting through daily grease splatters on the hood's exterior.
Why Is My Rangehood Still Greasy After Cleaning?
This is a frustrating one, but don't worry, it happens. It’s especially common when you’re dealing with a really heavy build-up of old, baked-on grease that's been sitting there for a long time. It’s like trying to wash a pan you left to "soak" overnight… sometimes it just needs a second go.
If your first attempt with the bicarb soak or hot soapy water didn't quite cut it, the simplest solution is often just to repeat the process. Try soaking the filters for longer this time… maybe even a full hour.
If that still doesn't shift the stubborn grease, it might be time to bring in a good quality, store-bought citrus-based degreaser. When you're using these commercial products, allowing them to sit for the recommended time is absolutely crucial. You have to give the chemicals time to do their job properly.
But what if your filters are perfectly clean and the rangehood is still underperforming? The problem might not be the filters at all. The real blockage could be much further up in the ducting. If you suspect this is the case, that's a job that requires a professional service to clean out safely and thoroughly.
At That Cleaning Crew, we know that some jobs are just too big or complex to handle on your own. For a truly deep clean that restores your kitchen's safety and air quality, sometimes you need the experts. If your rangehood and ventilation system need professional attention, we're here to help. Get in touch with us for a free on-site quote and see how our experienced team can make your commercial or residential space safer and cleaner. Learn more at https://www.thatcleaningcrew.com.au.