When it comes to cleaning floor tile grout, the basic idea is pretty simple. You need the right cleaning solution, a decent brush, and a bit of elbow grease. Seriously, that's it. The whole point is to break down the dirt that's trapped in the grout's porous surface, scrub it out, and then rinse it all away. If you leave any of that cleaning gunk behind, it’ll just get sticky and act like a magnet for more grime. It’s definitely a job you can handle yourself if you know what you're doing.
Why Your Grout Gets So Grimy
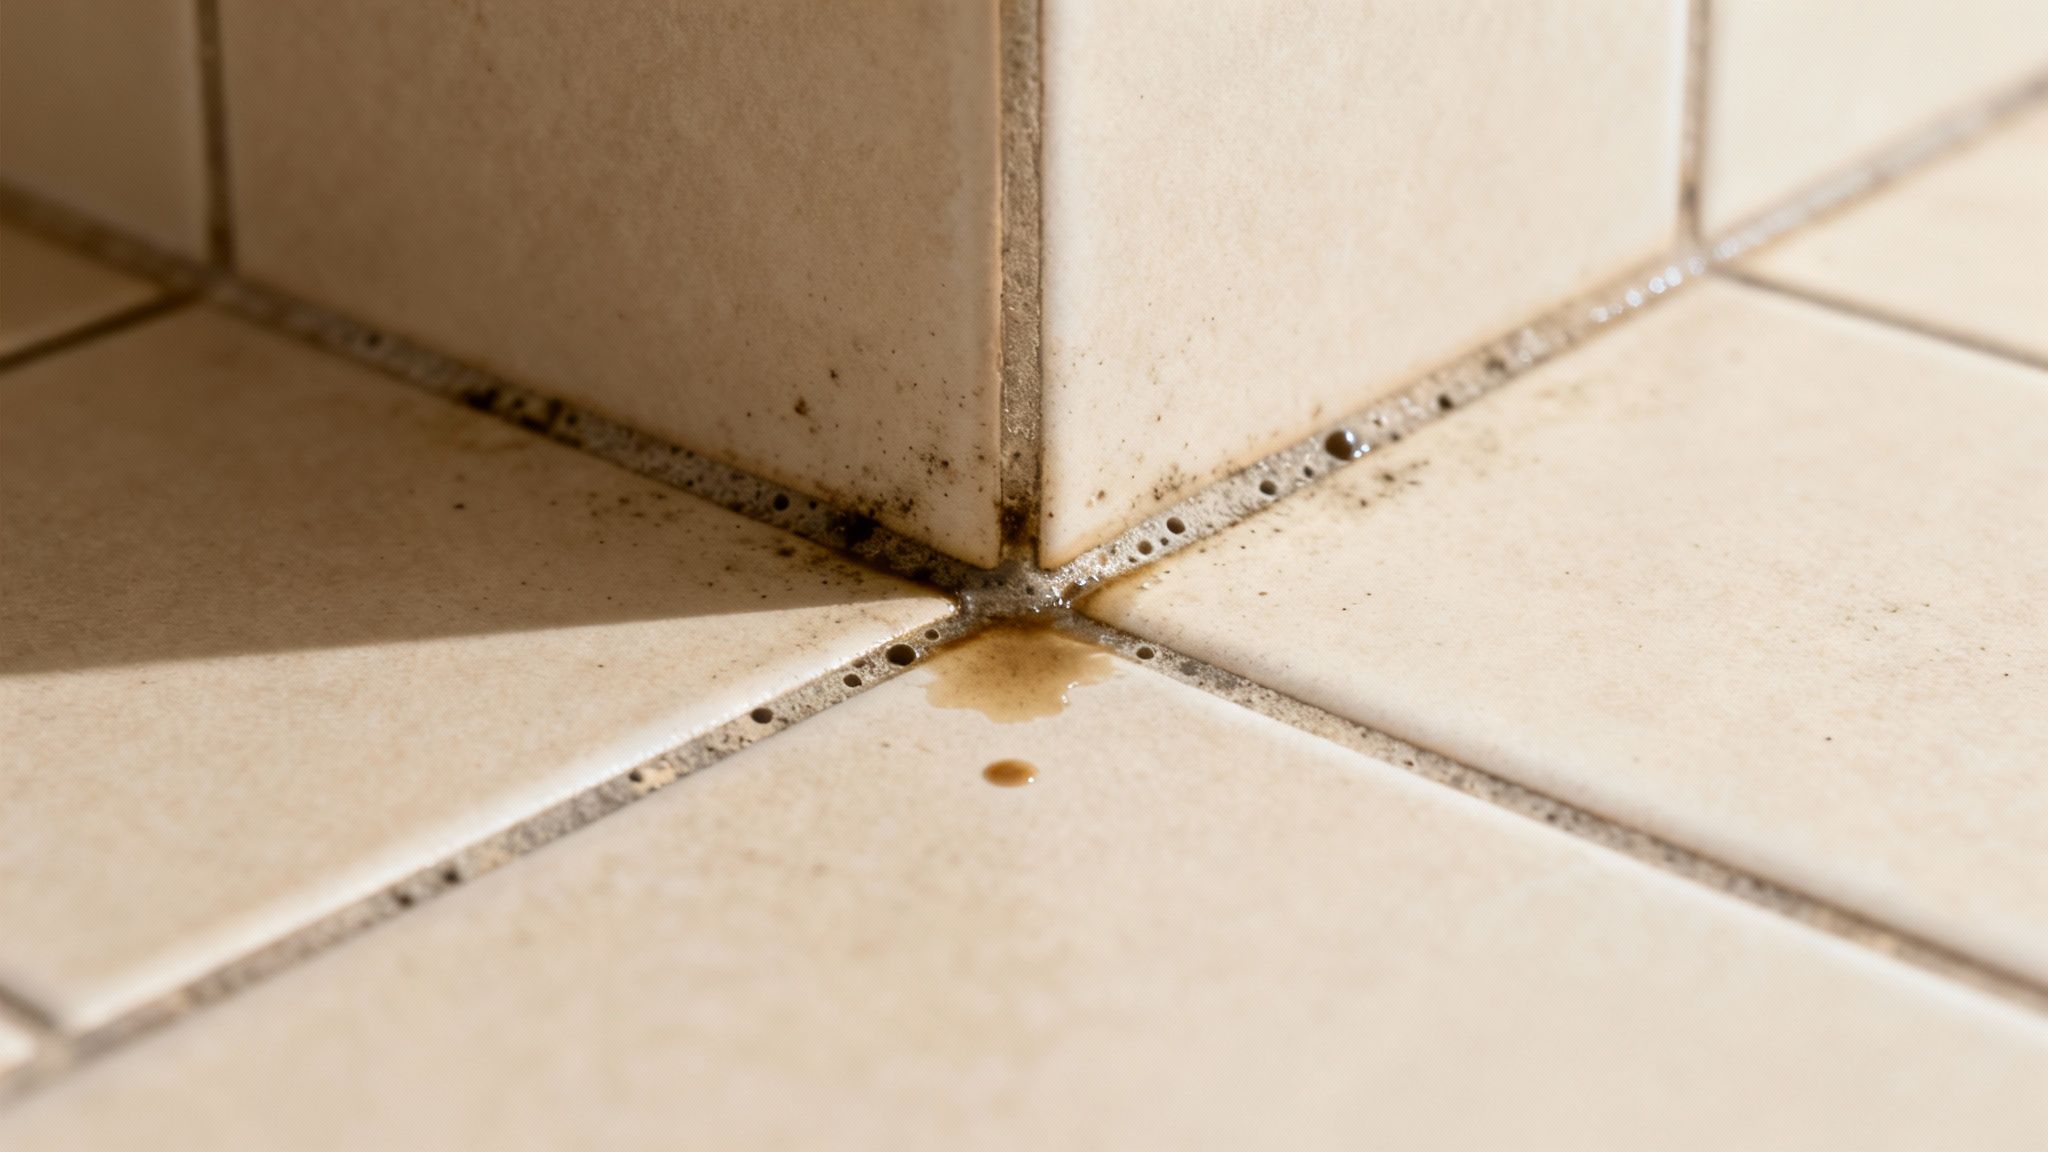
It’s a story we’ve all seen before. The tiles themselves might look great, but the grout lines just look… sad. They're dull, stained, and can really bring down the whole look of an otherwise spotless floor.
But don't beat yourself up about it. It helps to think of grout as a tiny, hard sponge. By its very nature, it's porous. That just means it’s packed with microscopic holes that are just waiting to soak up whatever lands on them.
Everyday spills, dirty mop water, grime you track in on your shoes, and even airborne grease from cooking… it all finds a home in those grout lines. Over time, it builds up in layers, leaving you with that stubborn, dark discolouration that seems impossible to shift.
Surface Grime vs Deep-Set Stains
Before you start scrubbing, it’s really helpful to know what you’re up against. Are you just dealing with a bit of surface dirt, or have some stubborn stains really taken hold?
- Surface-Level Dirt: This is your standard, everyday build-up. It usually looks grey or brown and often comes loose with a good quality cleaner and a solid scrubbing session. This is the stuff that just makes the floor look generally dirty.
- Deep-Set Stains: This is when things have really soaked into the grout's pores. Culprits like red wine, coffee, or mould can create stains that a simple surface clean won’t even touch. These need a bit more firepower to get rid of.
Mould and mildew are another beast entirely. Especially in damp spots like bathrooms. Poor air circulation is almost always the cause, creating a perfect little breeding ground. To learn more, it’s worth understanding the importance of proper bathroom ventilation, as this can stop the problem before it even starts.
The Growing Demand for Clean Tiles
If you’re fed up with dirty grout, you're definitely not alone. The push for cleaner, more hygienic spaces is fuelling huge growth in the professional cleaning industry.
The Australian tile and grout cleaning market was valued at around USD 1,375.60 million in 2024 and is expected to soar to USD 2,650.70 million by 2032. You can find more info about the tile and grout cleaning service market online if you’re curious. This trend just goes to show how much we all value a properly maintained floor, whether it's in our home or a busy commercial building.
Understanding why grout gets dirty is the first step. It helps you set realistic expectations for the job ahead and choose the right tools for the battle.
Choosing Your Grout Cleaning Arsenal

Before you even think about getting down on your hands and knees, we need to talk tools. The right gear can make cleaning floor tile grout go from a soul-crushing chore to something strangely satisfying.
Let's build your toolkit. We’ll look at what you need for a weekend DIY job at home and then scale it up to what the pros use in big commercial spaces. Trust me, the needs are worlds apart.
The Home Cleaning Toolkit
For most jobs at home, you don't need to spend a fortune. You've probably got a few of these things already hiding under your kitchen sink.
-
Baking Soda and Water Paste: This is your gentle, all-purpose starting point. A simple paste of bicarb soda and water is mildly abrasive, perfect for lifting everyday surface grime without scratching your tiles. It's safe, cheap, and surprisingly effective.
-
Vinegar and Water Solution: A spray bottle with a 50/50 mix of white vinegar and water is another classic. The acid in the vinegar is great for dissolving mineral deposits and soap scum, especially in bathrooms. But… and this is a big but… be careful. Vinegar can damage natural stone like marble or limestone. If you're not sure what your tiles are made of, skip this one or test it in a hidden spot first.
-
A Good Grout Brush: This might be the most important tool of all. An old toothbrush can work in a pinch, but a purpose-built grout brush with stiff, angled bristles will save your wrists and get into the grout lines much more effectively.
If you’re dealing with mould, you might be tempted to reach for harsh chemicals, but there are other ways. We’ve put together some advice on creating a powerful and natural mould killer that’s much kinder to your home environment.
The Professional Grade Equipment
When you step up to a commercial setting like a shopping centre or a bustling restaurant kitchen, the game changes completely. The sheer scale and the type of grime you’re dealing with demand a whole different level of equipment.
The Australian commercial cleaning services industry, valued at USD 14.03 billion in 2024, is projected to grow to nearly USD 24.89 billion by 2035. A big part of this growth comes from using the right tools for the job.
Here’s what the pros are using:
-
Specialised Alkaline Cleaners: Forget vinegar. In a commercial kitchen with layers of built-up grease, you need a high-alkaline degreaser. These cleaners are formulated to chemically break down oils and fats, making them much easier to scrub away.
-
Commercial Steam Cleaners: High-pressure steam is a professional's best friend. It uses heat to sanitise and blast away grime deep within the grout's pores without needing harsh chemicals. It’s incredibly effective and much faster than manual scrubbing over large areas.
-
Rotary Scrubbers: For huge floor spaces, nobody is scrubbing by hand. A rotary floor machine with a specialised grout brush attachment can clean thousands of square metres in a fraction of the time. It provides consistent pressure and agitation that you just can't replicate by hand.
Choosing the right tool isn’t just about making the job easier; it’s about getting a result that lasts. A pro knows that using an alkaline cleaner in a greasy kitchen or a steam cleaner in a high-traffic lobby is all about efficiency and effectiveness.
DIY vs Professional Grout Cleaning Methods
So, when can you tackle it yourself, and when should you call in the cavalry? This quick comparison should help you decide which approach is right for your situation.
| Factor | DIY Approach (Home Setting) | Professional Approach (Commercial Setting) |
|---|---|---|
| Cost | Low. Mainly the cost of basic supplies like vinegar, bicarb soda, and brushes. | Higher initial outlay for labour and specialised equipment, but cost-effective for large areas. |
| Effort | High. Requires significant "elbow grease" and time, especially for larger rooms. | Low. The team and their machinery do all the heavy lifting quickly and efficiently. |
| Effectiveness | Good for light, everyday grime and minor stains. Less effective on deep-set stains or grease. | Excellent. Deep cleans, sanitises, and removes stubborn grease, mould, and heavy soiling. |
| Best For | Small residential areas like bathrooms, kitchen splashbacks, and small floor spaces. | Large commercial floors, high-traffic areas, kitchens, and situations with heavy soiling. |
Ultimately, the DIY route is perfect for maintaining your home's grout. But when you're facing a massive, grimy floor in a commercial space, bringing in a team like That Cleaning Crew isn't just a convenience… it's a necessity to get the job done right.
The Step-by-Step Grout Cleaning Method That Actually Works
Right, let's get into the nitty-gritty of bringing your grout back to life. Forget the miracle cures and quick fixes you see online. We're going to walk through a proven, realistic method for cleaning floor tile grout that delivers fantastic results if you stick with it.
Think of it like prepping a wall for painting. You wouldn't just slap a fresh coat of paint over dust and cobwebs, would you? The same logic applies here. The prep work might feel like a chore, but it’s the foundation for a brilliant, long-lasting finish.
Setting the Stage for Success
First up, you need a clean slate. That means getting rid of all the loose dirt and debris sitting on the surface.
Give the entire floor a really thorough sweep or vacuum. You've got to get all the dust, hair, and crumbs out of the way. After that, a quick mop with plain water will lift off any lingering surface grime. Just make sure you let it dry completely before moving on.
Don't be tempted to skip this. If you put a cleaning solution onto a dusty floor, you're just making a muddy paste and creating ten times more work for yourself.
Applying Your Cleaning Solution
Now for the part where the transformation begins. Whether you've mixed up a DIY paste with bicarb soda and water or you're using a commercial cleaner, how you apply it is crucial.
Don't just pour it everywhere. Work in small, manageable sections… a square metre at a time is a good rule of thumb. This keeps you in control and stops the solution from drying out before you've had a chance to scrub.
Pro Tip: When you're applying the cleaner, don't just let it sit on the surface. Use the end of a brush or a gloved finger to really work it into the grout lines. You need the solution to make full contact with the grime it's there to break down.
Next, you need to be patient. Let the solution sit and do its job. This is called ‘dwell time’, and it's where your cleaner gets to work dissolving all that built-up gunk. Don’t rush this part. Most products will suggest a specific time, usually somewhere between 5 and 15 minutes. Go make a cuppa and let the chemistry happen.
The Power of a Good Scrub
Once the cleaner has had time to penetrate the grime, it’s time to put in a bit of elbow grease. But this is about smart scrubbing, not just frantic, exhausting effort.
Grab a firm grout brush and work along each line using small, circular motions or short, decisive back-and-forth strokes. The goal is to agitate and lift the dirt that the cleaner has already loosened, not just wipe the top layer.
A quality grout brush is worth its weight in gold here. The stiff, angled bristles are specifically designed to get right into that recessed groove and provide the friction needed without damaging the grout itself. An old toothbrush might work for a tiny spot, but for an entire floor, you'll be thanking yourself for investing a few dollars in the proper tool.
It’s interesting to see how the cleaning market has evolved. Especially with the growing demand for effective, eco-friendly options. In Australia, the household cleaners market, which includes products for cleaning floor tile grout, was valued at USD 774 million in 2024. It's projected to climb to over USD 1,070 million by 2033. This surge is largely driven by people like us wanting safer, chemical-free solutions that still deliver professional results.
For a different perspective and some other great strategies, check out these practical methods for effective grout cleaning for alternative approaches.
The Final, Crucial Rinse
You've done the hard work, and the grout is looking a million times better. But don't put your feet up just yet. The final rinse is arguably the most important step, and it's where most people get lazy.
If you leave cleaning residue on the floor, it quickly becomes sticky. And that sticky film is a magnet for fresh dirt, meaning your grout will look grimy again in no time. It's a frustrating cycle.
Here's the best way to tackle the rinse:
- Fill a bucket with clean, warm water.
- Dunk a large sponge or microfibre cloth in the water and wring it out thoroughly.
- Wipe down the section you just scrubbed, rinsing your sponge frequently in the bucket. You’ll probably need to change the water a few times.
- Once all the residue is gone, go over the floor one last time with a mop and fresh, clean water.
To finish, dry the area with an old towel. This stops water spots from forming on your tiles and stops any remaining dirty water from settling back into your beautifully clean grout lines. Now you can stand back and admire a job well done.
Tackling Stubborn Stains on Different Tile Types
Sometimes, a standard scrub just won’t cut it. You’re not dealing with everyday dust; you're facing the tough stuff. Think greasy buildup in a commercial kitchen, stubborn pink soap scum in gym showers, or those mysterious rust marks that appear near metal fixtures.
Don't worry. This is your guide for dealing with those really challenging spots. The single most important thing to remember is that not all tiles are created equal. What works brilliantly on a tough ceramic floor could be a complete disaster for beautiful, porous natural stone.
Know Your Tile, Know Your Enemy
Before you even think about reaching for a cleaner, you have to know exactly what you're working with. A quick identification can save you from a very expensive mistake.
- Ceramic and Porcelain: These are the workhorses of the tile world. They're tough, non-porous, and can handle most commercial cleaners without any fuss. You have a lot of options here.
- Natural Stone (Marble, Slate, Travertine): These are the sensitive ones. Anything acidic, like vinegar, is a huge no. It can literally eat away at the surface, leaving dull spots called etches. You absolutely must use a pH-neutral cleaner specifically designed for stone.
- Grout Type: Take a close look at the grout itself. Is it rough and sandy (sanded grout, used for wider joints) or is it smooth (unsanded, for narrow joints)? This doesn't dramatically change your choice of cleaner, but it’s good to know what you’re scrubbing.
Accidentally damaging your beautiful tiles while trying to clean the grout isn't the goal. Clean grout next to a ruined tile is definitely not a win.
Real-World Scenarios and How to Handle Them
Let’s move away from theory and get practical. Imagine you're standing in front of a particularly nasty stain. What do you do?
Scenario 1: The Greasy Kitchen Splatter Zone
You know that area right in front of the cooktop? The grout there has absorbed months, maybe even years, of cooking grease. A simple all-purpose cleaner won't even make a dent.
In this situation, you need an alkaline degreaser. These cleaners are specifically formulated to break down stubborn fats and oils. Apply it generously, give it about 10 minutes of dwell time to work its magic, and then get in there with a stiff brush. The grease should start to lift away, often in a satisfyingly gross slurry.
Scenario 2: The Red Wine Spill on Porous Terracotta
Someone’s knocked over a glass of red wine on your beautiful, rustic terracotta floor. Panic sets in. Because terracotta is so porous, that stain is sinking in fast.
Your best friend here is an oxygenated bleach powder mixed into a paste with water. Unlike chlorine bleach, it's colour-safe and works by releasing oxygen bubbles that help lift the stain out of the tile’s pores.
Spread a thick paste over the stain, cover it with plastic wrap to keep it damp, and let it sit overnight. The next day, gently scrape away the paste and rinse thoroughly. You might need to repeat the process, but it’s your best shot at saving the day.
This simple visual breaks down the core process for any cleaning job, from simple prep to the final rinse.
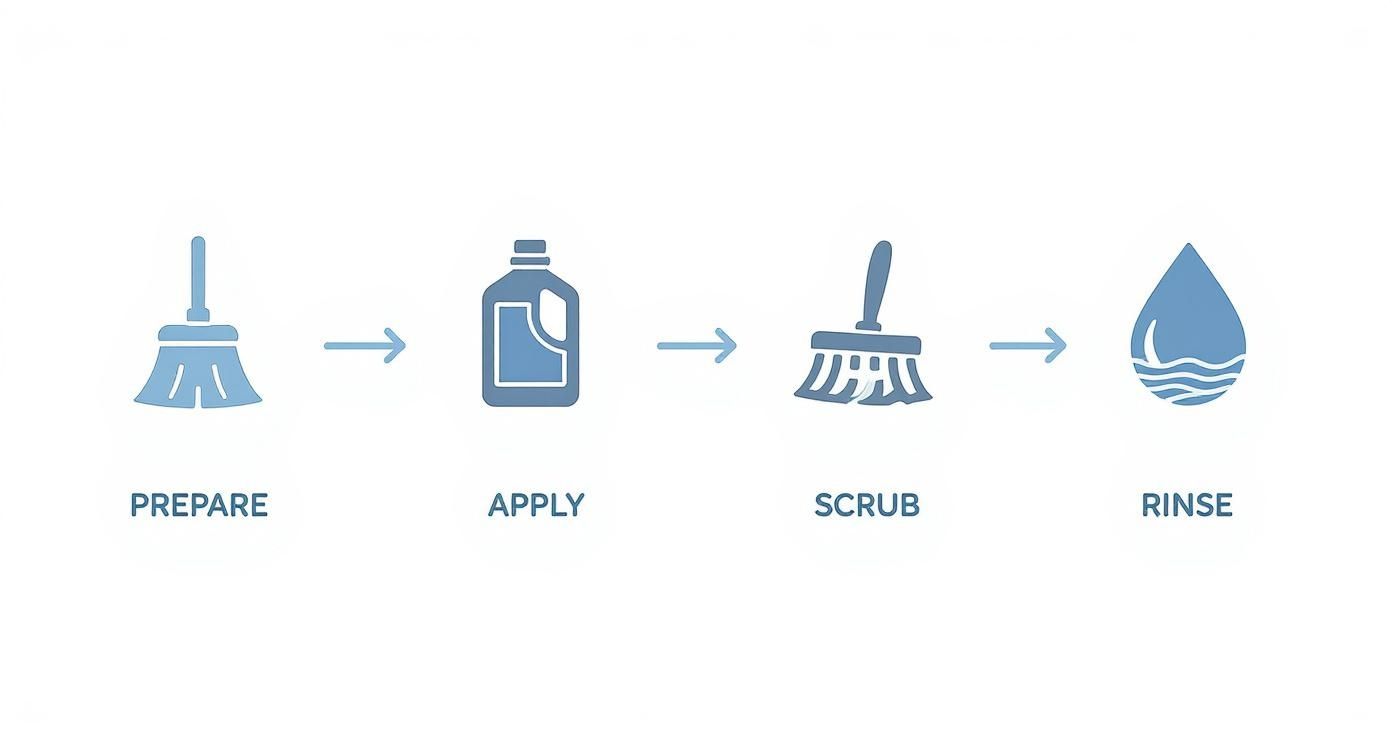
This reminds us that no matter how complex the stain, the fundamental steps of preparation, application, agitation, and rinsing always apply.
Mould and Mildew in the Bathroom
Ah, the bathroom. A warm, damp paradise for mould and mildew. You've seen those black spots creeping into the shower grout, especially in a bathroom that lacks good ventilation.
For this, a targeted mould and mildew remover is your best bet. These products often contain antifungal agents that kill the mould spores, not just bleach the surface stain. Spray it on, let it sit according to the label’s directions (don't scrub it right away!), and then agitate and rinse thoroughly.
The key to cleaning floor tile grout with stubborn stains is to match the solution to the problem and the tile type. It’s less about brute force and more about using the right chemistry for the job.
How Sealing Keeps Your Grout Cleaner for Longer
You’ve put in the hard yards. The cleaner has been scrubbed in, the grime is gone, and your grout lines are finally looking fantastic. So… what now? How do you stop this from becoming a regular, back-breaking chore every few months?
The secret is sealing. Honestly, if there's one step people skip that makes all the difference, this is it.
Think of unsealed grout as a tiny concrete path, riddled with microscopic holes just waiting to soak up dirt and spills. Sealing gives that path a clear, durable coat of armour. A quality grout sealer creates an invisible barrier, stopping dirt, grime, and moisture from sinking into those pores in the first place. It turns a sponge into a shield.
Choosing the Right Sealer for Your Space
Not all sealers are created equal, and what works for a quiet home bathroom won't stand a chance in a bustling café entryway. The two main types you’ll come across are penetrating sealers and topical sealers.
For pretty much any floor tile grout, a penetrating sealer (sometimes called an impregnating sealer) is the way to go.
- It soaks deep into the grout's pores rather than just sitting on top.
- It creates a barrier from within, blocking stains well below the surface.
- It leaves a natural, matte finish, so you won’t even see it.
Topical sealers, on the other hand, form a film over the surface. While they can add a glossy look, they tend to wear away quickly with foot traffic. I've seen them peel and flake in high-traffic areas, which ends up looking worse than the original problem. For floors, penetrating is almost always the smarter, more durable choice.
Applying Grout Sealer The Right Way
Sealing might sound technical, but it’s more straightforward than you’d think. The absolute most critical part is making sure your grout is spotlessly clean and bone dry before you even open the bottle. If you seal over damp or dirty grout, you’re just trapping the problem underneath that new protective layer for good.
As a rule of thumb, wait at least 24 hours after a deep clean to be certain all the moisture has evaporated.
Once you’re ready, the process is pretty simple:
- Work in small, manageable sections. Just like with cleaning, don’t try to tackle the entire floor in one go.
- Apply the sealer carefully. Many products come with a small brush or roller applicator. The goal is to get it on the grout lines, not sloshed all over the tile face.
- Wipe away the excess. This is key. After about 5 to 10 minutes (always check the product instructions), use a clean, dry cloth to wipe any extra sealer off the tiles themselves. If you let it dry on the tile surface, it can leave a hazy film that’s a real pain to remove later.
Sealing your grout properly can extend the time between deep cleans by years, not months. It’s a small investment of time that pays off massively in the long run, especially in commercial settings where appearance is everything.
A Simple Maintenance Routine to Make It Last
Sealing is your frontline defence, but a little bit of regular upkeep is what really makes the difference. You don't need a complicated plan; just a few good habits will keep things looking sharp.
Here’s a simple schedule to give you an idea of how to stay on top of things, whether you're at home or managing a busy workplace.
Sample Grout Maintenance Schedule
This table outlines a practical routine for keeping grout in top condition in both residential and high-traffic commercial environments.
| Frequency | Residential Task | Commercial Task (High-Traffic) |
|---|---|---|
| Daily | Swiftly wipe up spills to prevent them from sitting. A quick sweep or vacuum removes abrasive dirt. | Dry mop or sweep the floor at the end of the day to remove surface grit and dust. |
| Weekly | Mop the floor with a pH-neutral cleaner. Avoid harsh, acidic, or soapy cleaners that can break down the sealer. | Wet mop with a commercial-grade neutral floor cleaner, changing the mop water frequently to avoid spreading dirt. |
| Annually | Test your sealer. Drop a bit of water on the grout. If it beads up, you're good. If it soaks in, it’s time to reseal. | Professionally assess and deep clean high-traffic zones. Re-seal key areas like entrances and service counters as needed. |
Following a simple routine like this after sealing is the best way to protect all your hard work. It transforms cleaning floor tile grout from a major restoration project into simple, manageable upkeep.
When It's Time to Call a Professional
You've given it your best shot. You’ve followed all the advice, mixed up the bicarb soda paste, and even bought that special grout brush everyone swears by. Yet, the grout lines remain stubbornly, frustratingly grimy.
Let's be clear: sometimes, no amount of elbow grease is going to cut it. This isn't a sign of failure; it’s a sign the problem has gone beyond what household solutions can handle. This is the point where you stop fighting a losing battle and bring in the experts.
The Tell-Tale Signs You Need Help
Knowing when you're out of your depth can save you a world of time and frustration. It’s usually pretty obvious when you’ve hit that wall.
Here are a few classic indicators:
- Permanent Discolouration: The grout has been stained for so long that scrubbing does absolutely nothing. The grime isn't just sitting on the surface anymore; it's soaked into the grout itself.
- Crumbling or Damaged Grout: If you notice the grout is cracking, chipping, or turning to dust while you're cleaning, stop what you're doing. You're now causing more damage, and this has become a repair job, not just a cleaning one.
- Persistent Mould Growth: You clean the black spots away, only to see them return a few weeks later. This usually points to a deeper moisture issue that a simple surface spray won't fix. For these stubborn cases, you’ll likely need professional help with mould removal on the Central Coast to get to the root of the problem.
When cleaning floor tile grout becomes an overwhelming task, it might be time to look into a professional tile grout cleaning service. They have the right gear and know-how for jobs that are well beyond a weekend DIY project.
What to Expect From a Professional Service
So, what really happens when you hand the job over to a team like That Cleaning Crew? The difference boils down to two things: professional-grade equipment and hard-won experience. They won't be showing up with a spray bottle and a toothbrush. They come armed with powerful, commercial-grade machinery built for deep restoration.
Professionals use high-pressure steam cleaners and rotary scrubbing machines that deliver a level of clean you simply can't achieve by hand. It’s the difference between washing your car with a bucket versus taking it through a professional car wash.
They bring in high-pressure, hot water extraction systems that blast away years of embedded dirt, grease, and grime while sanitising the surface. This process doesn't just clean; it kills the bacteria and mould spores hiding deep within the porous grout lines. The result isn't just clean tile… it's hygienically restored.
In the end, it’s a simple cost-benefit analysis. How much is your time and effort worth? For a business, where a pristine appearance directly impacts customer perception, the investment is a no-brainer. For a homeowner, it's about getting a far superior, longer-lasting result without sacrificing your entire weekend to back-breaking labour.
Got Grout Questions? We've Got Answers
We get asked about grout all the time. Here are some quick answers to the most common questions that pop up, based on what we see out in the field every day.
How Often Do I Really Need to Deep Clean My Grout?
For a typical family home, a thorough, deep clean once or twice a year is usually enough to keep things looking sharp, especially if you’ve had it sealed.
However, if you're looking after a high-traffic spot like a cafe, retail store, or a busy office bathroom, you're playing in a different league. In those cases, you'll likely need to schedule a deep clean quarterly to stay on top of the grime.
Is It Okay to Just Use Bleach?
Look, you can, but we strongly advise against it unless it's an absolute last resort. While bleach is a powerful whitener, it’s also incredibly harsh. Over time, it will gradually eat away at your grout and can even damage certain types of tiles.
Always start with a gentler, pH-neutral cleaner first. You might be surprised at how effective it is without resorting to the harsh stuff.
Why Does My Grout Look Dirty Again Almost Immediately?
This is a classic one, and the answer is almost always the same: the grout wasn't sealed after the last clean.
Unsealed grout is like a sponge… it’s porous and just soaks up any dirt, spills, or dirty mop water that comes its way. Sealing is the crucial final step that creates a protective barrier, locking out future stains and keeping your hard work looking fresh for much longer.
For a professional finish that lasts, That Cleaning Crew provides expert tile and grout cleaning solutions across Sydney and the Central Coast. Get your free on-site quote at https://www.thatcleaningcrew.com.au.