That grimy, brown film clouding up your oven door? It’s the ghost of every delicious roast, casserole, and tray of baked veggies you've ever made. One minute you’re admiring your golden-brown creation, the next you're left with a splattered, greasy reminder that’s slowly baking itself onto the glass.
It’s more than just an eyesore. That baked-on gunk hides your food, making you open the door and let all the heat out just to check on dinner. After a while, it can even start to smell a bit funky every time the oven heats up. We’ve all been there… a quick wipe-down with a cloth just smears the grease around. It’s like trying to clean honey with a dry paper towel. You just make a bigger mess.
This guide will get you back to a crystal-clear view, starting with the basics.
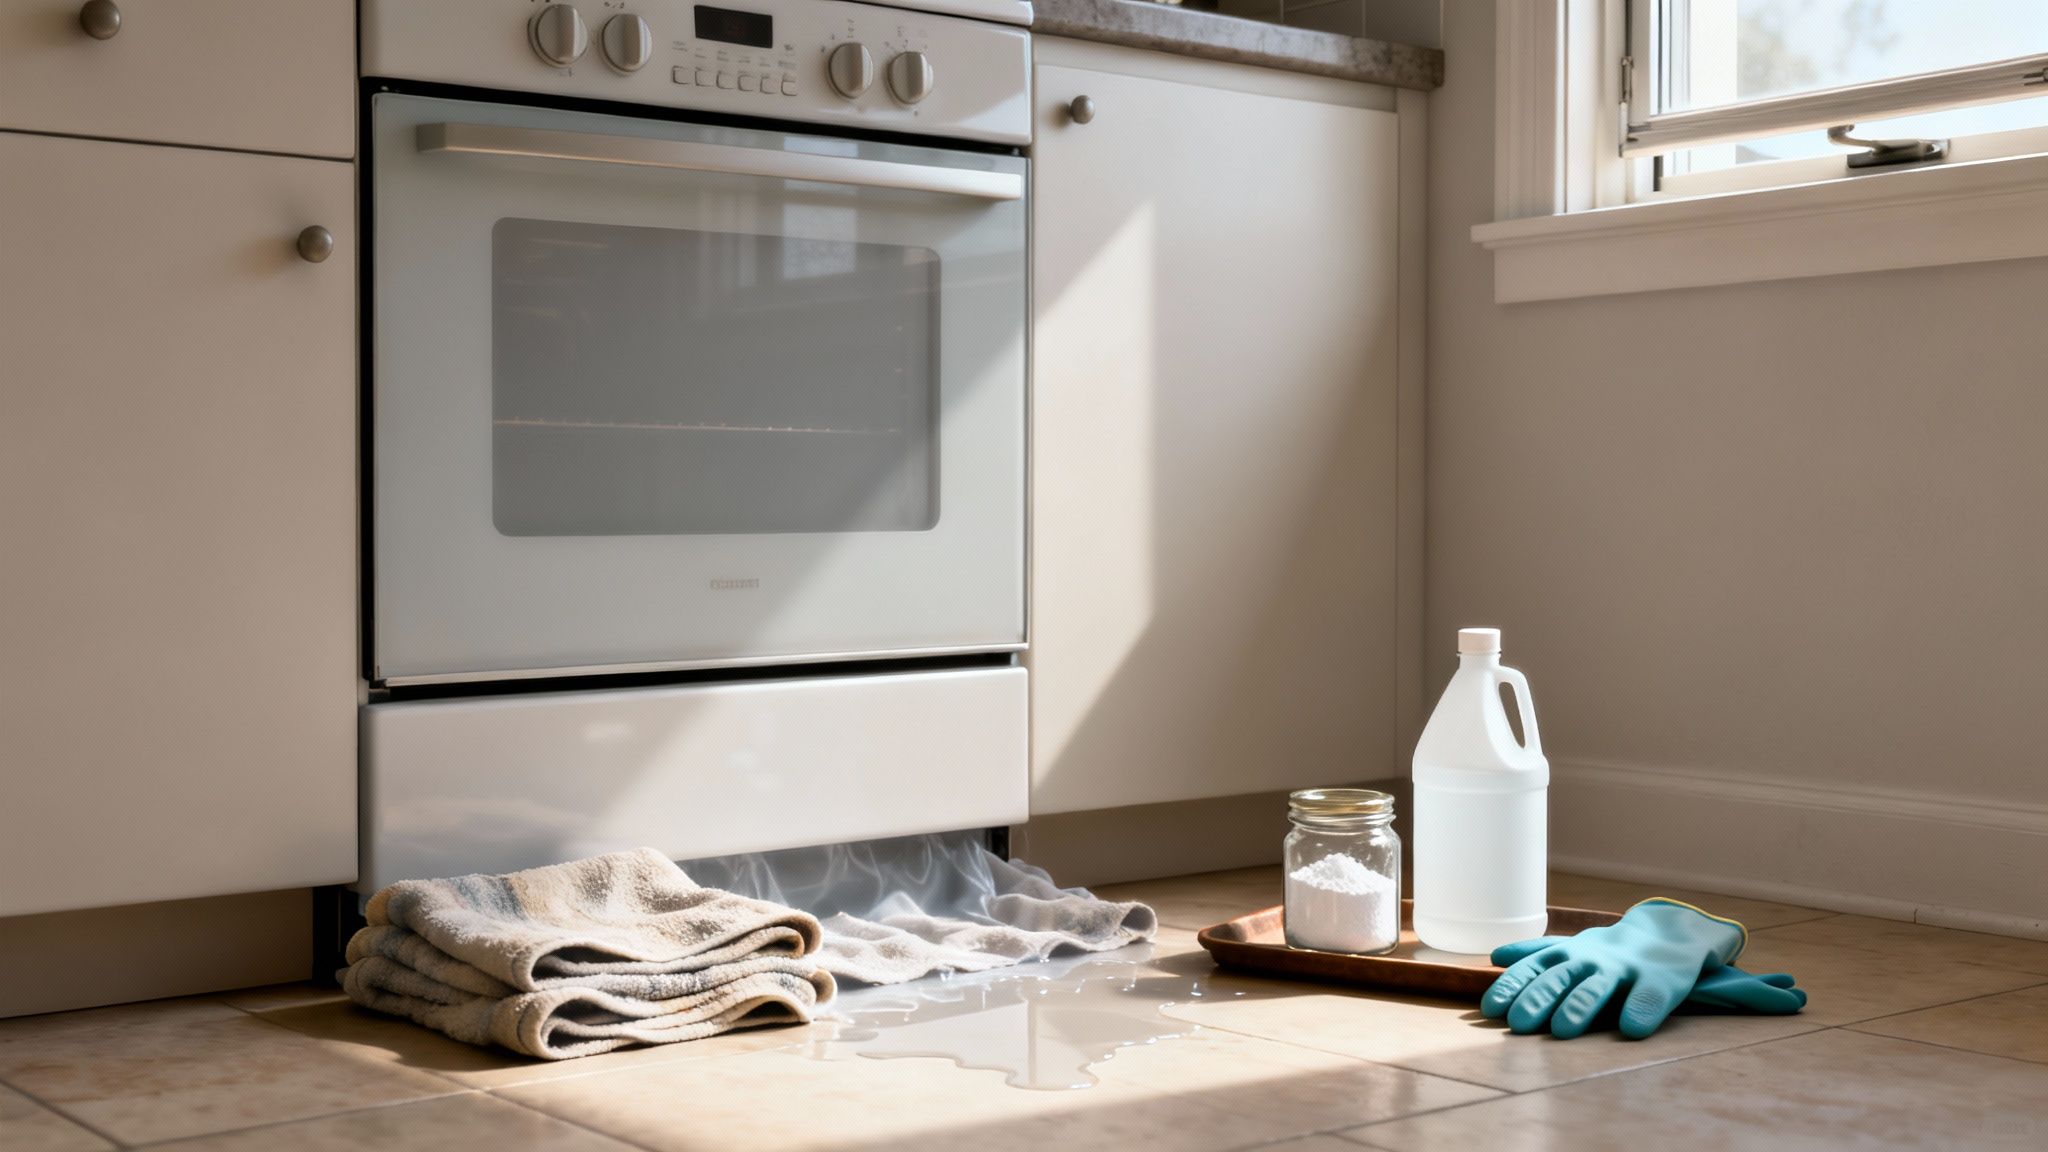
Getting Your Cleaning Kit Together
Before we roll up our sleeves, let’s get prepped. A good clean is all about having the right tools on hand from the start. This isn’t about running out for expensive, specialised cleaners; it’s about knowing what works. Think of this as our chat before the real work begins… getting everything in a row so you can tackle that grime with confidence.
Most of what you need is probably already hiding in your pantry. These are your everyday heroes.
- Baking Soda: The absolute star of the show. It’s a gentle but surprisingly effective abrasive that lifts grime without scratching the glass.
- White Vinegar: Perfect for that final spritz. It cuts through any leftover film and leaves a brilliant, streak-free shine.
- Microfibre Cloths: You’ll want a couple of these. They’re essential for wiping away the mess without leaving lint or scratches behind.
For most day-to-day grease and grime, a simple paste made from baking soda and a little water is all you'll need. Just mix it up until it’s about the consistency of toothpaste, spread it over the glass, and give it about 20 minutes to work its magic before wiping it clean with a damp cloth.
When You Need a Bit More Muscle
Of course, sometimes the simple stuff just won't cut it. We’ve all battled those stubborn, blackened spots that seem to have become one with the glass. For those tougher jobs, you might need something with a bit more oomph.
But that doesn't mean reaching for the harshest chemical cleaner you can find.
A common mistake is grabbing a standard kitchen scourer or steel wool. These will absolutely get the grime off, but they’ll also leave behind a network of fine scratches. Not only do these look terrible, but they can create weak spots in the glass over time.
Instead, we’ll look at better options, like non-abrasive cleaning pads or a specialised glass scraper. These are designed to lift off burnt-on food without gouging the surface. It’s all about using the right tool for the job. You wouldn't use a hammer to turn a screw, right? Same principle.
Let's get you ready to restore that crystal-clear view into your oven.
Preparing Your Oven for a Safe Clean
Before you even think about grabbing the baking soda, we need to talk about the first and most important step: preparation.
I know, I know. It's the boring part everyone wants to skip. You just want to get stuck into the cleaning, right? But trust me on this one. A few minutes of prep work now can save you a world of pain later. It’s the difference between a smooth, satisfying clean and creating a whole new mess you have to deal with.
Think of it as your pre-flight checklist. A few quick checks to make sure the mission is safe and effective, with no nasty surprises along the way.
The Absolute Non-Negotiables for Safety
First things first: your oven needs to be completely cool. Not just a little bit warm… stone cold. Trying to clean a warm oven isn't just a bad idea; it's a genuine safety risk.
Once it’s cool, you need to disconnect the power. If it’s an electric oven that plugs into the wall, unplug it entirely. For hardwired models or gas ovens, find the dedicated switch on your circuit breaker and flip it off. This simple step gives you total peace of mind, ensuring there’s zero chance of the oven accidentally turning on while you’re working.
This isn’t about being overly cautious. Accidents happen, and they are so easily avoided.
Setting Up Your Workspace
Now for the bit that protects your kitchen floor. Cleaning solutions, even the natural ones, can get drippy and messy. And believe me, cleaning up a cleaning mess is one of life’s little ironies you can do without.
My go-to trick is to lay a couple of old towels or a good layer of newspaper on the floor directly in front of the oven.
- This catches any water or cleaning paste that might run down the door.
- It protects your floor from potential stains or scratches.
- It makes the final cleanup as simple as gathering up the towels and tossing them in the wash.
This simple setup contains the mess and lets you focus on the job at hand: getting that oven door glass sparkling. Speaking of which, while you're focused on the oven, don't forget the other big greasy culprit in the kitchen. Our guide on how to clean rangehoods can help you tackle that job next.
Let in Some Fresh Air
Even when you're using gentle, natural cleaners like baking soda and vinegar, it's always a good idea to get some air moving. The cleaning process can kick up tiny particles of old, burnt food that you really don’t want to be breathing in.
Just crack open a nearby window or turn on your rangehood fan. It's a small thing that makes the whole process a lot more pleasant.
Proper cleaning technique is more than just making things look good; it's also about maintenance. In fact, Australian community forums show that incorrect cleaning is a real concern. Using harsh chemicals or abrasive scourers can create micro-scratches that weaken the glass over time, increasing the risk of it shattering under heat. You can read more about what fellow Aussies have experienced and how to avoid these issues.
So, taking these few prep steps seriously not only ensures your safety but also protects the appliance you're working so hard to clean. It sets the stage for a great result without any of the drama.
Using a Natural Baking Soda Paste
Right, let's get into it. Forget those harsh, fume-filled chemical cleaners for now. We're going to create a seriously powerful cleaning paste using two simple things you almost certainly have in your pantry: baking soda and a bit of water.
It sounds almost too simple to be effective, doesn't it? But the real magic isn't just in the ingredients; it's in how you mix them and, most importantly, how long you let them work. This is the secret weapon for lifting that stubborn, baked-on grime without an ounce of frantic scrubbing.
Crafting the Perfect Cleaning Paste
The goal here is a paste with the perfect consistency… think thick toothpaste or even frosting. You don’t want it runny and sliding right off the glass, but you also don’t want it so thick and clumpy that you can't spread it.
Getting it just right is simple:
- Start by putting about half a cup of baking soda into a bowl.
- Slowly add a bit of water, maybe a tablespoon at a time, and mix it well.
- Keep adding tiny amounts of water and mixing until you reach that perfect, smooth, spreadable consistency.
That's it. You've just made a non-toxic, incredibly effective oven cleaner. Easy.
Now, with the oven door open and lying flat, use your fingers (gloves are a good idea) or a spatula to spread this paste all over the inside of the glass. Get a nice, even layer covering all those greasy spots and dark patches. Don't be shy with it.
The Secret Ingredient Is Patience
And now for the most important part of the entire process… you wait.
That's right. You're going to let that baking soda paste sit there and do all the heavy lifting for you. Give it at least 15 to 20 minutes, but if the grime is really bad, you can even leave it for a good hour. The baking soda is gently working to break down the grease and loosen the carbonised food, making it much easier to wipe away.
This method is incredibly popular for a reason. It uses the mild abrasive quality of baking soda to scrub away grime without scratching the delicate glass surface. You're cleaning effectively while protecting your appliance.
This waiting time is where the magic happens. It’s like letting a good marinade tenderise a tough cut of meat. You’re letting the science do the work so your muscles don’t have to.
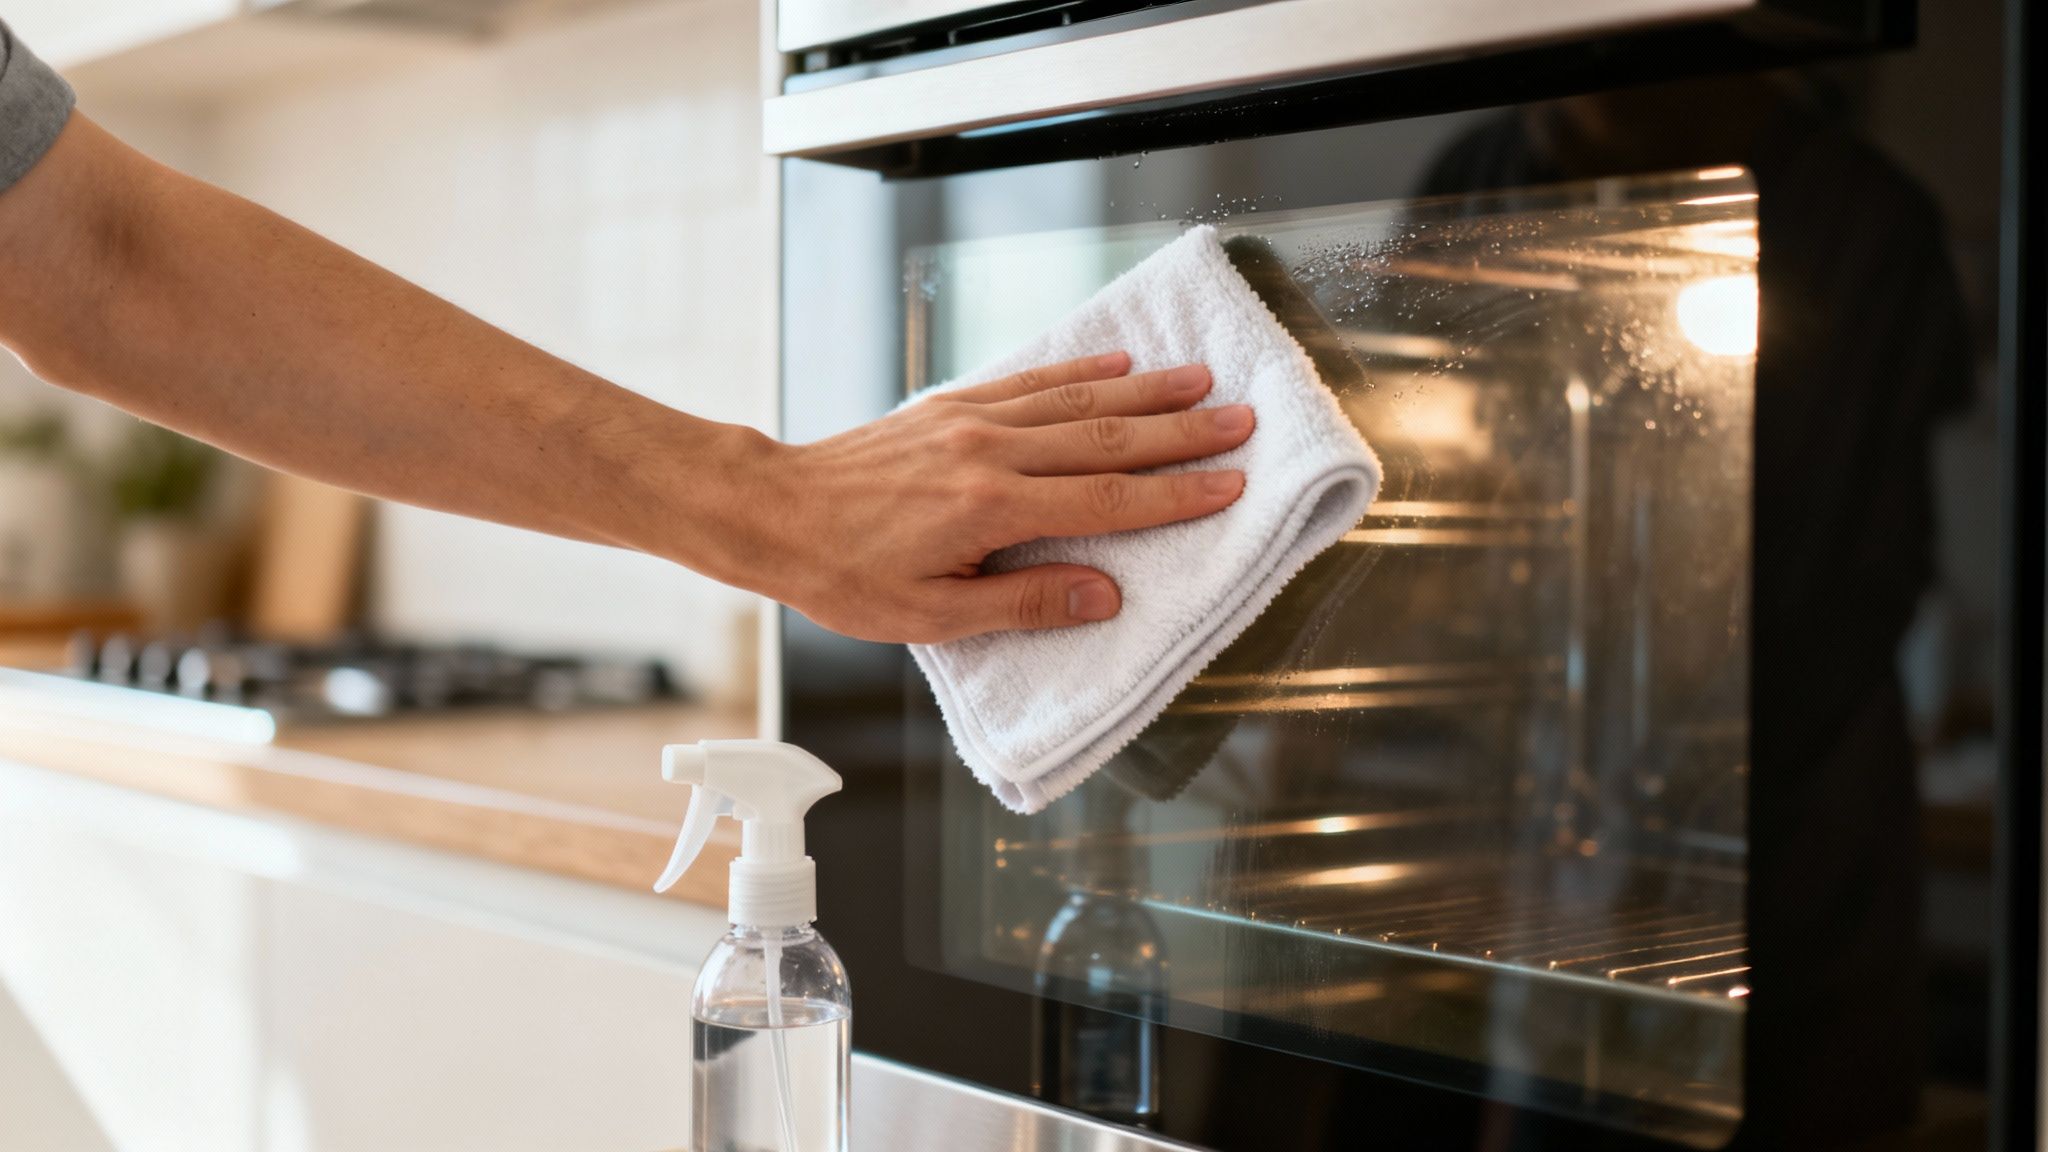
The Big Reveal a Streak-Free Shine
Once you’ve let the paste sit, it’s time for the big reveal. Grab a damp microfibre cloth—not a dripping wet one—and start gently wiping the paste away. You should feel the grime lifting off with it.
Rinse your cloth frequently in clean water to avoid just smearing the mess around. You’ll probably see the paste has turned a brownish colour from all the gunk it has absorbed. That's a good sign! It means it's worked.
Once all the paste is gone, you might be left with a slightly hazy film. This is where the final touch comes in. Fill a small spray bottle with some white vinegar and give the glass a light spritz.
Then, using a clean, dry microfibre cloth, buff the glass in circular motions. The vinegar will cut through any remaining residue and leave you with an amazing, streak-free shine. This simple baking soda and vinegar combination is a classic for a reason. In fact, this approach is widely recommended by cleaning specialists across Australia. A common routine involves creating a paste, letting it sit for about 10 to 15 minutes, and then gently wiping it away to avoid any damage.
Beyond just your oven, many other simple concoctions can deliver brilliant results on glass surfaces. If you're keen on homemade solutions, you might want to explore these other DIY Window Cleaning Solution Recipes for a sparkling clean on other parts of your home.
Natural vs Commercial Oven Cleaners
When you're staring down a dirty oven door, you have two main choices: go natural with household items or grab a commercial chemical cleaner. Both can get the job done, but they work very differently. Here's a quick look at the pros and cons to help you decide which is right for you.
| Feature | Natural Method (Baking Soda & Vinegar) | Commercial Chemical Cleaner |
|---|---|---|
| Cleaning Power | Excellent for moderate grease and grime. May need multiple applications for heavy-duty, baked-on carbon. | Very powerful. Designed to dissolve tough, carbonised food and grease with minimal scrubbing. |
| Safety & Fumes | Non-toxic and fume-free. Safe to use around kids and pets. No special ventilation required. | Often contains harsh chemicals (like sodium hydroxide) that produce strong fumes. Requires good ventilation and PPE. |
| Cost | Extremely low-cost. Ingredients are common pantry staples. | More expensive than DIY options, with costs varying by brand and strength. |
| Application Time | Requires a longer dwell time (15-60 minutes) for the paste to work effectively. | Typically works faster, often in 5-20 minutes, though some heavy-duty formulas may need longer. |
| Environmental Impact | Biodegradable and eco-friendly. No harsh chemicals are washed down the drain. | Can contain chemicals that are harmful to aquatic life and the environment. |
| Effort Required | May require a bit more gentle wiping and buffing to remove all residue and achieve a streak-free shine. | Usually requires less physical effort; the chemicals do most of the heavy lifting. Just wipe away. |
Ultimately, the choice comes down to your priorities. For everyday cleaning and for those who prefer a non-toxic home, the natural method is a fantastic, effective, and safe option. If you're facing years of baked-on grime and need maximum power with minimum elbow grease, a commercial cleaner might be the more practical choice… just be sure to follow all safety precautions carefully.
Dealing with Seriously Stubborn Grime
Sometimes, that baking soda paste just doesn't cut it. You’ve let it sit, you’ve wiped it away, and yet… there they are. Those stubborn, black, carbonised spots that look like they’ve become a permanent part of the glass. It’s like they're welded on.
We’ve all been there, staring at a mess that just refuses to budge.
This is the moment where we need to bring in something with a bit more grit. But that doesn’t mean going at it with brute force. It's about using the right tools, smartly and safely, to get the job done without causing any damage. You can absolutely win this battle.
Bringing Out the Scraper
The thought of taking a blade to your oven door probably sounds a bit terrifying. I get it. It feels wrong, like you're about to leave a massive scratch right across the glass. But a specialised glass or ceramic cooktop scraper is an absolute game-changer for this exact problem.
These tools are designed specifically for this task. The trick is all in the technique.
- Hold it at a low angle: You're not trying to dig into the glass. Hold the scraper at about a 30-degree angle to the surface.
- Use gentle, even pressure: Apply just enough pressure to get under the edge of the burnt-on gunk. Let the blade do the work, not your muscles.
- Lift, don't chop: Use smooth, lifting motions to peel the carbonised spots off the glass. You’ll be surprised how easily they can pop off once you get under them.
Work on one spot at a time. It’s a slow and steady process, but incredibly satisfying when you see that black crust lift away to reveal clean glass underneath. Just remember to be patient and never use the corner of the blade, as that's what can cause scratches.
This visual guide shows the simple decision-making process for tackling your oven glass.

The flowchart makes it clear that the core process is simple, but the real effort comes when grime is present.
When a Commercial Cleaner Is the Right Call
There are times when even a scraper can't quite finish the job, or the grime is so widespread that scraping feels like an impossible task. This is when reaching for a commercial oven cleaner might be the most practical solution.
But not all cleaners are created equal.
It's incredibly important that you choose a formula specifically marked as safe for glass oven doors. Some heavy-duty oven cleaners are designed only for the enamel interior and can damage or etch the glass. Always, always read the label.
When you do use one, follow the safety instructions to the letter. This means wearing gloves, ensuring your kitchen is well-ventilated, and protecting your floors from any drips. These products are powerful, and you need to respect that. For exceptionally tough, baked-on carbon deposits that natural methods might not fully tackle, you could even consider a professional carbon off cleaner, which chefs often use, but be sure to follow all safety guidelines carefully.
The same principles of careful work that apply to your oven can also be used elsewhere. For instance, tackling stubborn messes is something we also cover in our guide to cleaning floor tile grout, where patience and the right tools make all the difference.
Ultimately, whether you choose a scraper or a specific cleaner, the goal is the same. You want to apply targeted power, intelligently, to remove the grime without harming the surface. This isn’t about scrubbing harder; it’s about cleaning smarter. With the right approach, even the most formidable baked-on disaster doesn't stand a chance.
Keeping Your Oven Door Clean for Good
So, you’ve done it. You’ve battled the baked-on grime and won. The glass is gleaming, the view is clear, and your oven looks fantastic.
But how do you keep it that way?
The last thing you want is to be back here in six months, facing the same tough scrubbing job all over again. This next part isn’t about obsessive cleaning. It's about forming a few simple, almost effortless habits that stop that thick grime from ever building up in the first place.
It’s all about saving your future self a whole lot of time and effort.
The Power of the Quick Wipe Down
The single most effective thing you can do is also the simplest. After you’ve used your oven and it has cooled down completely, give the inside of the glass a quick wipe with a damp microfibre cloth.
That's it. Seriously.
This tiny action takes about 30 seconds, but it’s a total game-changer. Most of those greasy splatters and drips that eventually turn into a baked-on nightmare will wipe away easily when they’re still fresh. Think of it like rinsing a plate straight after dinner instead of letting the food cement onto it overnight.
It’s a small investment of time that pays huge dividends.
Create a Simple Maintenance Schedule
Okay, so a quick wipe-down is a great habit, but we also need a slightly more structured approach to keep things looking good long-term. This isn't a chore list. It’s a simple rhythm that feels manageable and stops cleaning from ever becoming a huge project.
Here's a schedule that works for most households:
- Once a week: Give the glass a quick spray with a 50/50 mix of white vinegar and water. Wipe it clean with a microfibre cloth. This cuts through any light grease film and keeps the glass sparkling.
- Once a month: Do a quick check for any new, stubborn spots. If you see any, you can tackle them with a small amount of that baking soda paste we talked about earlier. Just spot-clean the problem areas.
This proactive approach means you’ll probably never need to do a massive, deep clean again. It's just little and often.
Adopting a regular maintenance schedule completely changes your relationship with oven cleaning. It shifts from a dreaded, hours-long task into a few minutes of simple upkeep, which is a much healthier way to look at it.
Why This Proactive Approach Matters
Maintaining a clean oven door is about more than just looks. That constant build-up of grease and carbon isn't just ugly; it can also affect your oven's performance over time.
Regular cleaning ensures you always have a clear view, so you’re not constantly opening the door and letting heat escape. It also prevents those unpleasant smells that can come from old food residue burning every time you turn the oven on. This is the same principle professional cleaners apply… a huge part of our work is reversing the effects of accumulated grime.
Interestingly, the cost of professional oven cleaning in Australia gives us a bit of insight into how big these jobs can get. The average price for a professional clean is around $207 in Melbourne and $216 in Brisbane. These prices don't just cover the glass; they reflect the intensive work needed to remove tough carbon deposits and grease from the entire oven cavity. You can discover more insights about these cleaning costs and what they involve.
By staying on top of it yourself, you’re not just keeping your oven looking new; you’re also saving yourself from ever needing such an intensive intervention. It's about working smarter, not harder.
When to Call a Professional Cleaner
Look, we’ve covered some fantastic DIY methods that can genuinely work wonders on your oven door. But let's be honest, sometimes a cleaning job is just too big, too stubborn, or you simply don't have the time. And that is perfectly okay.
Recognising when to call for backup isn't about admitting defeat. It's actually a smart move for your appliance, your home, and your own sanity. You don’t have to fight every battle yourself.
Signs It's Time to Call for Backup
Some cleaning challenges go far beyond what a bit of elbow grease can fix. The most common one we see is that infuriating situation where grime, dust, and tiny food specks have somehow wedged themselves between the two panes of glass. It's a spot you just can't reach without taking the entire door apart.
Another big reason is the legitimate concern over using strong chemicals near your oven's delicate seals or heating elements. A professional service, like us at That Cleaning Crew, comes equipped with industrial-strength products and specialised tools to handle the job safely and effectively.
Calling in a professional means you get a showroom-quality clean without taking any risks. We know exactly how to disassemble and reassemble oven doors without causing damage, ensuring every last nook and cranny is spotless.
This is especially true during a big move. When you're juggling packing, organising, and a million other things, the last thing you need is a deep oven clean looming over you. Our comprehensive end-of-lease-cleaning-checklist shows just how much is involved, and handing that specific, grimy task over to an expert can be a huge weight off your shoulders.
Ultimately, if the job feels overwhelming or you’re worried you might cause more harm than good, making the call is always the right move.
Common Questions About Cleaning Your Oven Door
Still have a few questions swirling around about how to clean your glass oven door? You're definitely not alone. It's one of those jobs that seems straightforward right up until you're on your knees, scraper in hand, wondering where to start.
Here are some quick, no-nonsense answers to the most common queries we get from clients.
How Often Should I Be Cleaning My Oven Door Glass?
Honestly, this really comes down to how much you use your oven. For a quick maintenance clean, a light wipe-down after every few uses (once it's completely cool, of course) works wonders. This simple step stops that greasy film from ever getting a foothold.
For a proper deep clean using something like a baking soda paste, I’d recommend aiming for once every one to three months. A little bit of cleaning, often, is the absolute key to avoiding a massive, daunting cleaning job down the track.
Is it Okay to Use a Regular Scourer on the Glass?
Please, whatever you do, don't! It’s so tempting to grab that green kitchen scourer when you hit a tough, burnt-on spot, but it will leave behind a network of tiny scratches. You might not even see them at first, but over time, these scratches can actually weaken the glass.
It's much safer to stick to a non-abrasive pad. For those really stubborn baked-on bits, a proper glass scraper held at a low angle is your best friend.
What if There's Gunk Trapped Between the Glass Panels?
Ah, the trickiest oven cleaning problem of all. Seeing those drips and crumbs trapped between the panes of glass is maddening, mainly because you just can't get to them. For this situation, you generally need to take the oven door apart.
My best advice here is to find your oven's manual or look up the model online before you touch a single screw. Some modern oven doors are designed for easy disassembly, but others are notoriously complex. If you're not 100% confident you can do it and get it back together perfectly, this is the perfect time to call in a professional.
It's just not worth the risk of damaging the door seals, cracking the glass, or not being able to put it back together correctly.
When the grime is just too stubborn or you're simply short on time, don't hesitate to call for backup. The team at That Cleaning Crew has the right tools and professional-grade products to make your entire oven look brand new, safely and efficiently. Visit us at https://www.thatcleaningcrew.com.au to get a free quote and take one big job off your to-do list for good.