Okay, let's talk about that moment. You know the one. Where you hand back the keys and hold your breath, just hoping you’ve done enough to get your full bond back. It feels a bit like a high-stakes exam you can't really study for, doesn't it? It’s stressful. You've packed up your entire life, you're exhausted, and now you have to clean a home to a standard that feels… well, a bit vague. What does ‘reasonably clean’ even mean anyway?
That’s exactly why we’re here. We're going to pull back the curtain on the whole process. This isn't just another generic list you'll find online. It's a proper, area-by-area end of lease cleaning checklist designed to give you a clear, actionable plan. Think of it as your roadmap to getting that bond money sitting back in your bank account, without all the guesswork.
We'll walk through everything, from deep cleaning the kitchen and sanitising bathrooms to washing walls and tackling those tricky outdoor areas. We’ll cover the exact things property managers look for, giving you the confidence that you’ve covered every single base. Forget the anxiety. Let's make this process straightforward, so you can focus on the exciting part… settling into your new place.
1. Kitchen Deep Cleaning
The kitchen is almost always the first place a property manager inspects. It’s the heart of the home, but it's also where grease, grime, and smells build up the fastest. A thorough kitchen clean isn't just a quick wipe-down. It’s a detailed, top-to-bottom restoration that can make or break your bond return. This part of your end of lease cleaning checklist involves degreasing, sanitising, and removing every trace of food residue and stains from all surfaces and appliances.
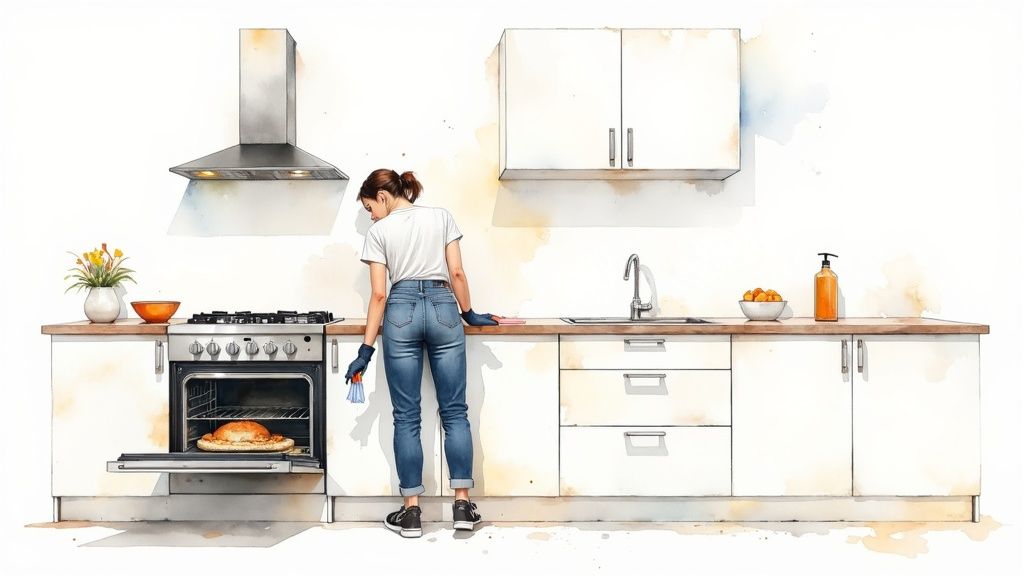
Think of it this way: property managers see hundreds of kitchens, and they can spot a half-hearted job a mile away. An Adelaide property management firm recently mentioned that kitchen cleanliness was the reason for a staggering 68% of its partial bond withholdings. Wow. On the flip side, a tenant in Melbourne avoided a $450 deduction simply by dedicating six hours to a deep kitchen clean, focusing specifically on the oven and rangehood filter, which were the agent's main worries.
Actionable Kitchen Cleaning Tips
To get your kitchen back to its original sparkle, you'll need a solid plan.
- Tackle the Oven First: Don't save this monster for last. Apply a quality oven degreaser the night before your main clean. Letting it soak overnight will do most of the hard work for you, making the grime much easier to just wipe away. It's like magic.
- Stovetop Stains: For those stubborn, burnt-on marks, create a paste using bicarb soda and a little water. Apply it to the stains, let it sit for about 30 minutes, and then give it a gentle scrub.
- Appliance Insides: Don't just wipe the front of the fridge. Pull out all the shelves and drawers. It’s often much easier to wash these in the bathtub or laundry sink with warm, soapy water. While they're out, clean the refrigerator's interior walls and check the tiny overflow drain hole is clear.
- Think High and Low: Dust and grease love to hide. Make sure you wipe the top of the refrigerator and the rangehood. Then, if you can, carefully pull appliances like the fridge and dishwasher away from the wall to clean the floor and walls behind them. It's a spot that's almost always missed.
2. Bathroom Sanitization and Descaling
Right after the kitchen, the bathroom is under the microscope. This isn't just about making it look clean; it's about deep sanitisation and tackling the tough stuff like soap scum, limescale, and lurking mould. Property managers have a keen eye for these details because they show how well the property has been looked after. Getting this part of your end of lease cleaning checklist right means removing every trace of use… from water spots on the taps to discoloured grout between the tiles.
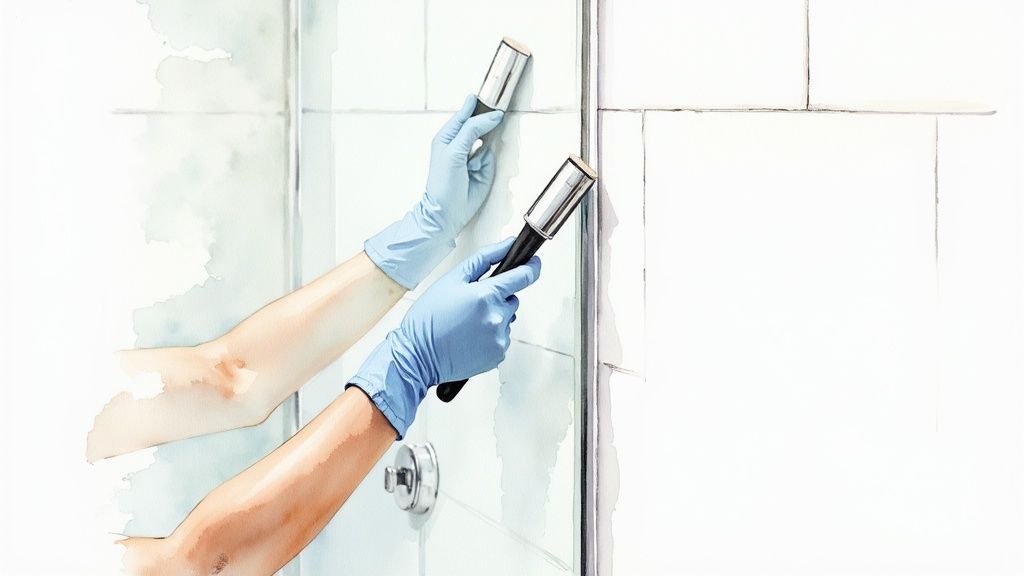
This space can be a deal-breaker for your bond. A recent survey of Sydney landlords showed bathroom cleanliness was the second biggest reason for bond deductions, just behind kitchens. It’s the little things that count. One Brisbane tenant shared a story about how their agent initially failed the bathroom inspection due to dingy grout, but they managed to save their full bond by going over it with a specialised grout pen. It's that level of detail that makes all the difference.
Actionable Bathroom Cleaning Tips
To get your bathroom looking like new, you'll need to go beyond a simple wipe-down.
- Soak the Shower Head: Limescale loves to clog up shower heads. An easy fix? Fill a plastic bag with white vinegar, tie it around the shower head so it's fully submerged, and leave it overnight. The next morning, it'll rinse clean. Simple.
- Deal with Grout and Mould: Mix bicarb soda and water into a thick paste and scrub it into the grout lines with an old toothbrush. For stubborn mould on silicone seals, a targeted mould killer is essential. You can discover effective methods for removing mould from your bathroom to make sure it’s gone for good.
- Make Glass Sparkle: Apply a quality descaling solution to the shower screen, let it sit for 15-20 minutes, then scrub and squeegee it off. For really tough, caked-on residue, you can carefully use a new razor blade held at a 45-degree angle to scrape it away.
- Don't Forget the Fan: The exhaust fan cover is a magnet for dust and moisture. Carefully remove it and soak it in warm, soapy water. While it’s off, give the fan blades a careful wipe-down. It’s a small task that shows you've been thorough.
3. Carpet Steam Cleaning and Stain Removal
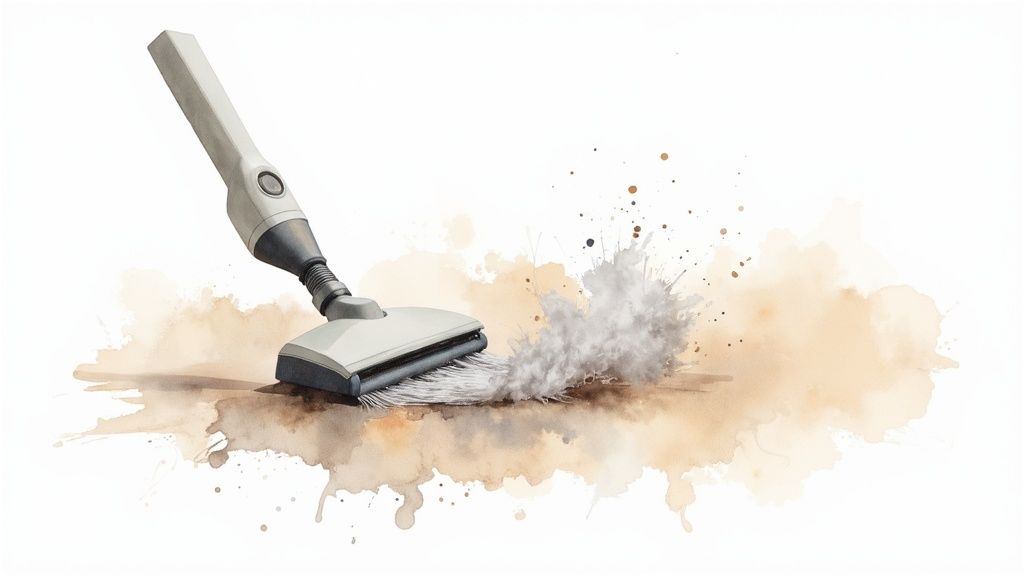
Carpets can hold onto a surprising amount of dirt, dust, and smells, making them a major focus during the final inspection. A standard vacuum just won't cut it. This is where professional steam cleaning, also known as hot water extraction, comes in. It's a non-negotiable part of most lease agreements for a reason: it's the only method that truly deep cleans carpet fibres, removing embedded grime and allergens to restore the carpet to its original, hygienic state.
Failing to provide a receipt for professional carpet cleaning is one of the easiest ways to lose a chunk of your bond. The Victorian Civil and Administrative Tribunal (VCAT), for example, previously ruled in a landlord's favour when a tenant tried to pass off a DIY job, costing them an $850 bond deduction. Ouch. National cleaning franchises report that around 85% of their end-of-lease clients book this service because it’s a mandatory requirement. It’s simply not worth the risk to skip it.
Actionable Carpet Cleaning Tips
To make sure your carpets pass the test, a little bit of planning goes a long way.
- Book It In Early: Don’t leave this to the last minute. Schedule a professional steam clean at least a week before your lease ends to secure a booking. Plan for the service to happen after all your furniture is moved out and general cleaning is done, usually 2-3 days before the final inspection to allow for drying.
- Prep the Area: The professionals will do the deep cleaning, but you can help them be more effective. Give the carpets a thorough vacuum right before they arrive to lift all the loose dirt and debris. This lets their equipment focus on the deep-down grime.
- Point Out Problem Spots: Walk the cleaners through your home and point out any specific stains, high-traffic areas, or places where pets may have spent time. They can often apply specialised treatments to these zones for better results. The more you communicate, the better the outcome.
- Keep the Paperwork: The receipt is your golden ticket. Make sure it clearly lists the property address, the date of service, and explicitly states "steam cleaning" or "hot water extraction." Provide a copy of this to your property manager as proof you've met your lease obligations.
4. Wall Washing and Scuff Mark Removal
After living in a space, it's totally normal for walls to show signs of life… fingerprints, scuffs, and a bit of general grime. But what seems like minor wear and tear to you can look like neglect to a property manager. Cleaning the walls is a critical, yet often forgotten, part of any thorough end of lease cleaning checklist. This isn't about repainting the entire property; it's about systematically washing down surfaces to remove the evidence of your tenancy, leaving them looking fresh, clean, and well-maintained.
Think it doesn't matter? A Melbourne property manager survey revealed that walls ranked third in the list of areas needing remedial work before a property could be re-listed. In a more direct example, a tenant in NSW successfully avoided a potential $400 repainting charge by dedicating around five hours to methodically washing every wall with a simple sugar soap solution. It’s an investment of time that delivers a huge return by protecting your bond.
Actionable Wall Cleaning Tips
Ready to get those walls looking their best? Here’s how you can do it right.
- Choose Your Weapon: Sugar soap is your best friend here. Dilute it in a bucket according to the instructions on the bottle. It’s brilliant for cutting through grime without damaging most paint finishes.
- Test First, Clean Later: Before you go all-in, always test your cleaning solution on a small, hidden spot, like behind a door or inside a wardrobe. This makes sure it won't strip or discolour the paint.
- Top-Down Approach: Always start washing from the top of the wall and work your way down. This simple trick prevents dirty drips from running over the areas you've just cleaned, saving you from having to do the work twice.
- Two-Bucket System: To avoid just spreading dirt around, use two buckets. One will hold your cleaning solution, and the other should have clean water for rinsing your cloth or sponge. It's a classic painter's trick.
- Magic Eraser for Scuffs: For stubborn black scuff marks from shoes or furniture, a melamine foam sponge (often called a 'magic eraser') works wonders. Use it gently with a little water, as pressing too hard can actually remove the paint.
5. Window and Glass Cleaning (Inside and Outside)
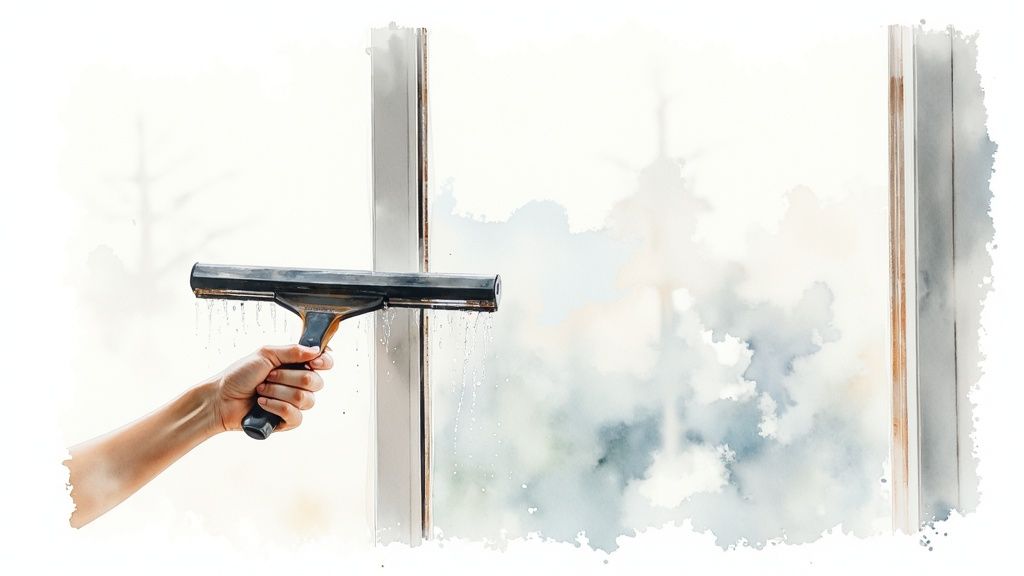
Streaky windows and dusty tracks are one of the most obvious signs of a rushed clean. Clean glass has a massive visual impact, making the entire property feel brighter, bigger, and better maintained. It’s an easy thing for a property manager to check… and an even easier thing to deduct from your bond. This crucial part of your end of lease cleaning checklist covers all glass surfaces, including windows, doors, mirrors, and shower screens, addressing both the inside and outside to ensure a flawless finish.
It’s all about that first impression. A Queensland real estate agent recently shared that pristine windows were one of the top five things that created a positive feeling during re-listing inspections. In a real-world example, a Sydney tenant avoided a $150 deduction simply by re-cleaning their windows after the initial inspection failed them for streaks and unwashed exterior panes. Getting it right the first time saves you stress, time, and money, but it's important to know what to do when end of lease cleaning goes wrong.
Actionable Window and Glass Cleaning Tips
Getting that professional, streak-free shine is easier than you think.
- Timing is Everything: Clean windows on an overcast day. Direct sunlight heats the glass and causes your cleaning solution to dry too quickly, which is the number one cause of streaks.
- Master the Squeegee: The pros use them for a reason. Wet the glass, then draw a quality squeegee from top to bottom in a single, smooth motion. Remember to wipe the blade with a clean cloth between each stroke.
- Tackle Tracks First: Before you even think about spraying the glass, vacuum the window and door tracks. This removes all the loose dirt, dust, and dead insects, preventing you from turning it all into a muddy mess when you wipe them down. An old toothbrush is perfect for getting into the tight corners.
- Don't Forget the Screens: Carefully remove any flyscreens. Take them outside and give them a good hose down. You can use a soft-bristled brush with some soapy water for stubborn grime. Make sure they are completely dry before putting them back.
- Look Beyond the Glass: Your job isn't done after the panes are clean. You need to thoroughly wipe down all window sills and frames to remove dust and smudges. This attention to detail is what separates a pass from a fail.
6. Kitchen Appliance Deep Cleaning
While the kitchen as a whole is a major inspection point, the condition of the individual appliances can single-handedly determine your bond outcome. A sparkling benchtop won't distract a property manager from a greasy oven. This task on your end of lease cleaning checklist goes far beyond a simple wipe-down. It involves a meticulous, intensive clean of every appliance, inside and out, including parts that are often overlooked.
Think this is overkill? An Adelaide property manager recently stated that a staggering 55% of their partial bond withholdings included oven cleaning fees, ranging anywhere from $80 to $200. In another case, the tenant tribunal in Victoria ruled that a landlord could deduct the cost of professional oven cleaning because the tenant's own attempt left visible grease residue. It’s often the one job tenants underestimate, and property managers know exactly where to look for shortcuts.
Actionable Appliance Cleaning Tips
To get your appliances looking like they just came out of the box, you need to be strategic.
- Plan Your Oven Attack: Don't try to scrub a cold, greasy oven on the day of the clean. Apply a quality oven cleaner the night before, letting it work its magic on the baked-on grime while you sleep. This makes the final wipe-down infinitely easier.
- Soak, Don't Scrub (At First): Remove all oven racks and stovetop burners. Let them soak overnight in your laundry sink or bathtub with hot water and a strong degreaser. The next day, most of the grime will slide right off with minimal effort.
- Dishwasher Detox: Your dishwasher cleans dishes, but it needs cleaning too. Run an empty cycle on the hottest setting with a specialised dishwasher cleaner or a cup of white vinegar placed on the top rack. This will sanitise it and clear out any built-up residue.
- The Fridge and Freezer Reset: Make sure you defrost the freezer at least 24 hours before you plan to clean it. This ensures all the ice has melted, preventing a watery mess. Pull out all shelves and drawers to wash them separately.
- Safe Scraping: For stubborn, burnt-on food on your stovetop or inside the oven, use an old credit card or a plastic scraper. It's firm enough to lift the residue but won't scratch the appliance surfaces like a metal tool would.
7. Floor Cleaning and Treatment
The floors are the largest surface area in any rental property, and they bear the brunt of daily life. From foot traffic to spills and furniture marks, they show wear and tear more than anywhere else. A comprehensive floor clean isn't just about a quick vacuum and mop. It’s about understanding the specific materials underfoot and treating them correctly to restore their original condition as much as possible. This part of your end of lease cleaning checklist is critical because a poorly cleaned floor is immediately obvious and can suggest neglect.
It's the details that matter here. Property inspection data from Perth revealed that an incredible 42% of cleanliness complaints involved floor edges and corners that tenants had missed. On the other hand, a savvy Melbourne tenant successfully disputed a $250 floor cleaning charge by providing dated photos proving they had professionally cleaned the floors with the correct products. This shows that documented, correct procedures protect you and your bond. Remember, a NSW tribunal case established that while tenants are responsible for cleaning appropriate to the floor type, they aren't liable for damage from normal wear and tear.
Actionable Floor Cleaning Tips
To make sure your floors pass the final inspection, you need a targeted strategy.
- Identify Your Floor Types: Before you start, walk through your home and identify every type of flooring. Timber, tile, laminate, vinyl, and carpet all require different cleaning methods and products. Using the wrong one can cause damage.
- Target Edges and Corners First: Mops and vacuums often miss the grime that builds up along skirting boards and in corners. Use a small brush or even an old toothbrush to loosen this dirt before you do the main clean.
- Vacuum Carpet in Multiple Directions: To properly lift the pile and remove deeply embedded dirt, vacuum the entire carpeted area north-to-south, and then again east-to-west. This is a crucial step before getting a professional carpet steam clean, which is often a lease requirement.
- Manage Furniture Marks: Don't leave those deep indentations in the carpet from your sofa or bed. Place an ice cube on each mark, let it melt completely, and then use a fork or your fingers to gently fluff the fibres up. A final vacuum over the spot should make it disappear.
- Use the Right Tools for the Job: Steam mops are fantastic for sanitising tile and vinyl floors but can destroy timber or laminate by forcing water into the joins. For timber, always use a specialised pH-neutral wood floor cleaner and a damp, not soaking wet, mop.
8. Outdoor Areas and External Cleaning
It’s easy to focus so much on the inside of the property that you completely forget about the outside. But balconies, gardens, patios, and even the garage are all part of your lease agreement. These spaces are often overlooked by tenants, which makes them a prime area for property managers to find issues during the final inspection, making this a critical part of your end of lease cleaning checklist. Neglecting your outdoor duties can lead to unexpected and costly deductions from your bond.
Don't think it matters? Think again. A Brisbane property tribunal recently ruled a tenant liable for a $280 garden restoration fee because the lawn and garden beds had significantly deteriorated. On the other hand, a savvy Sydney tenant successfully disputed a $150 deduction by providing their own photos showing a freshly mowed lawn and swept patio, directly contradicting the agent's initial report. An Adelaide real estate survey even found that outdoor areas were the sixth most common reason for bond deductions, with an average cost of $180.
Actionable Outdoor Cleaning Tips
To make sure your outdoor areas pass inspection, you’ll need to be methodical.
- Start with the Paperwork: Before you lift a single leaf, pull out your lease agreement and entry condition report. These documents will tell you exactly what your responsibilities are and show the original state of the garden and external areas.
- Timing is Everything: Do your outdoor cleaning before you tackle the inside. This prevents you from tracking dirt, leaves, and grass clippings back through your freshly cleaned house. Mow the lawn 2-3 days before the inspection… it looks neat and established, not like a last-minute panic job.
- Sweep, Hose, and Degrease: Thoroughly sweep out the garage and any carports. If there are oil stains on the concrete, apply a commercial degreaser and scrub it in before hosing it down. A pressure washer can work wonders on grimy driveways and patios if you have access to one.
- Don't Forget the Details: Clear out any leaves and debris from balcony drains to make sure they're not blocked. Trim back overgrown plants and branches so everything looks tidy. And finally, make sure you dispose of all your green waste and any other outdoor rubbish properly before you hand back the keys.
8-Point End of Lease Cleaning Checklist Comparison
| Cleaning Type | Implementation Complexity 🔄 | Resource Requirements ⚡ | Expected Outcomes 📊 | Ideal Use Cases 💡 | Key Advantages ⭐ |
|---|---|---|---|---|---|
| Kitchen Deep Cleaning | High – Multiple specialized products, heavy appliance moving, professional tools often needed | High – Specialized cleaners, equipment, physical effort | Excellent bond return chances, odor and grime removal | End-of-lease kitchens, toughest cleaning spot | Addresses health hazards, highest inspection priority |
| Bathroom Sanitization & Descaling | Medium – Requires harsh chemicals and detailed grout/mold work | Medium – Descalers, mold removers, disinfectants, safety precautions | Prevents mold delays, restores fixture look | Bathrooms needing mold & limescale removal | Health safety, visible deep sanitization |
| Carpet Steam Cleaning & Stain Removal | Medium – Professional scheduling and equipment needed | High – Professional service cost, drying time required | Lease compliance proof, allergen and stain removal | Carpets at lease end, mandatory cleaning | Professional quality, allergy reduction |
| Wall Washing and Scuff Removal | Medium – Time-consuming, careful techniques to avoid paint damage | Low – Cleaning solutions, magic erasers, patch fillers | Prevents repainting costs, improves property look | High-traffic walls, touch-ups before move-out | Cost effective vs repainting |
| Window and Glass Cleaning | Low-Medium – Technique sensitive, ladders for exterior windows | Low-Medium – Cleaning solutions, squeegees, cloths | Immediate visual impact, improved lighting | Properties with many windows, end-of-lease touch | Easy verification by inspectors |
| Kitchen Appliance Deep Cleaning | High – Time-intensive with disassembly and tough grease removal | High – Specialized cleaners, tools, physically demanding | Restores appliances, avoids professional fees | Neglected appliances, ovens, rangehoods | Targets critical inspection areas |
| Floor Cleaning and Treatment | Medium-High – Different floor types require varied methods | Medium – Various cleaners, physical effort | Strong aesthetic impact, hygiene maintained | Whole property floors including hidden areas | Enhances overall cleanliness perception |
| Outdoor Areas and External Cleaning | Medium – Weather dependent, variable scope, physical labor | Medium – Lawn/garden equipment, pressure washer | Visual improvement, tenant-friendly timing | Gardens, patios, driveways, garages | High impact, fewer professional re-cleans |
Ready for a Stress-Free Handover?
And there you have it. The complete, no-stone-unturned guide to conquering your end of lease clean. It can look like an overwhelming mountain of tasks when you see it all laid out, can’t it? But remember, the goal isn't just to scrub and wipe. The goal is to be methodical.
By breaking down the mammoth job into manageable, room-by-room sections, from the kitchen deep clean to those often-forgotten outdoor areas, you've transformed a vague stressor into a clear, actionable plan. You're not just cleaning anymore. You're strategically working through a detailed end of lease cleaning checklist designed to meet and exceed your property manager's expectations. This approach saves you time, energy, and the dreaded back-and-forth communication after you’ve already moved on.
The Most Important Takeaways
Let's quickly recap the game-changing principles we've covered:
- Your Condition Report is Your Bible: Don't clean from memory. Your original property condition report is the single most important document you have. Use it to cross-reference every scuff, mark, and area of pre-existing wear and tear. This is your evidence and your guide.
- Documentation is Your Defence: Before you lock that door for the last time, take detailed, well-lit photos and videos of every room, every appliance, and every cleaned surface. Think of it as creating your own 'exit' condition report. This simple step can be the difference between getting your full bond back and facing a frustrating dispute.
- Top-Down, Inside-Out: Always work from the highest point in a room downwards (think ceiling fans before floors) and from the inside of the property outwards. This logical flow prevents you from having to re-clean areas, saving you precious time and effort.
- Don't Underestimate the Details: It's the little things that get noticed. Light switches, skirting boards, window tracks, and the inside of cupboards are the areas most tenants forget. Diligence here shows a level of care that property managers appreciate.
Ultimately, mastering your end of lease clean is about more than just securing your bond money, though that is a fantastic result. It's about closing a chapter of your life on a positive, organised, and stress-free note. It’s about leaving a property with a sense of pride and responsibility, ready to step into your next home with a clear head and a full bank account. You’ve put in the work to make this space your home; now you have the tools to leave it in impeccable condition.
Feeling the time crunch or simply want the peace of mind that comes with a professional guarantee? If you're in Sydney or the Hunter Valley, let the experts handle the heavy lifting. The team at That Cleaning Crew specialises in detailed bond cleans and knows exactly what property managers look for, ensuring you get your bond back without the hassle.