To stop mould from setting up camp in your bathroom, you have to get to the root of the problem. That's moisture, warmth, and poor airflow. The best way to start? Consistently use your exhaust fan, give wet surfaces a quick wipe after a shower, and check for any hidden leaks. It’s a pretty simple strategy, but it makes your bathroom a far less inviting place for mould to grow.
Why Mould Loves Your Bathroom
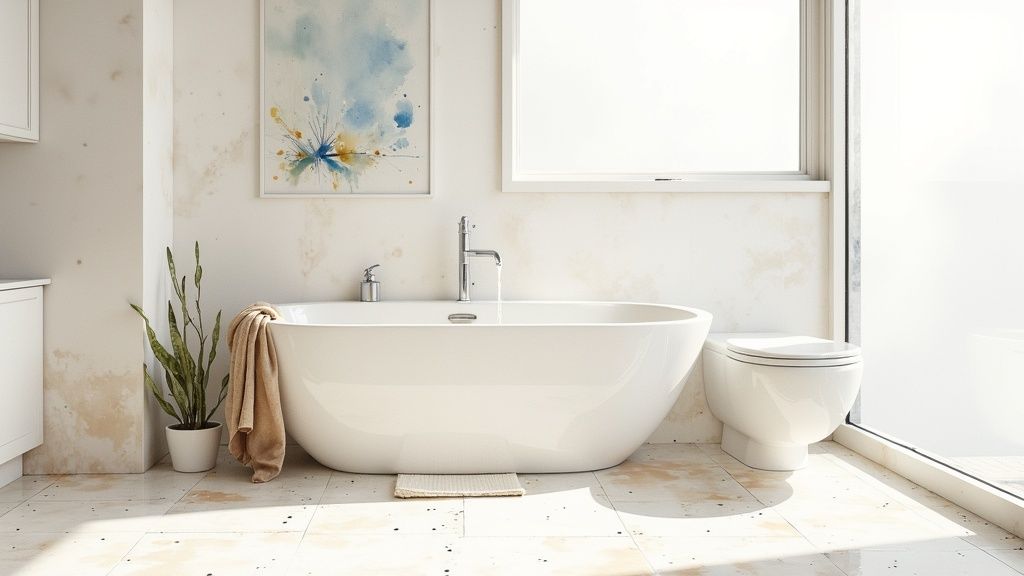
Let's talk about that persistent, unwelcome guest that seems to absolutely love our bathrooms… mould. It’s more than just an ugly splotch on the grout. It’s a frustrating and common problem in so many Australian homes.
Your bathroom is basically a five-star resort for mould. Think about it. All that steam from a long, hot shower creates a warm, humid paradise. It’s the perfect environment for mould spores, which are always just floating around in the air, to land and start a family.
The Perfect Recipe for Mould Growth
So, what does mould really need to thrive? It's not that complicated. The main ingredients are moisture, a food source (like plasterboard, dust, or soap scum), and a bit of warmth. And your bathroom generously provides all three.
Every time you shower, you’re creating the ideal little microclimate for mould to flourish, especially if you don’t have great ventilation. That lingering dampness is the number one culprit we need to tackle.
It's not just about what you can see. Hidden leaks behind walls or under the sink can create a secret breeding ground for mould, making the problem much worse than it appears on the surface.
Unfortunately, this is a widespread issue. Studies show that somewhere between one-third and half of all Australian homes are affected by mould, with our humid climate being a key contributor. The combination of coastal humidity and poorly ventilated bathrooms creates a perfect storm for growth. You can discover more insights about why so many Australian homes suffer from mould and what to do about it.
Common Hiding Spots for Bathroom Mould
Where should you be looking? Mould isn't always obvious. It loves to hide in places where moisture collects and sits undisturbed.
Here are a few hotspots to keep a close eye on:
- Grout and Silicone: The porous nature of grout and the edges of silicone seals are prime real estate for mould.
- Shower Curtains: Fabric curtains are a classic culprit, as they can stay damp for hours after you've showered.
- Under the Sink: Small, slow leaks from plumbing can go unnoticed for ages, creating a dark, damp haven.
- Around the Toilet Base: Condensation and the occasional splash can create enough moisture for mould to take hold here.
Understanding exactly where and why mould appears is the first, and most crucial, step. Once you know your opponent's game plan, you can start fighting back effectively and learn how to prevent mould in your bathroom for good.
Mastering Airflow With Simple Ventilation Habits

Your biggest weapon against mould is something you can't even see… fresh air. You can scrub your tiles until they sparkle, but if you don't get that damp, heavy air out, you're just fighting a losing battle. Mould thrives in still, moist environments, so the simple act of moving air around is a total game-changer.
Think of it like this. A steamy bathroom is a warm, cosy invitation for mould spores to settle down and multiply. But good ventilation is like opening all the doors and windows during a party… it tells those unwanted guests that it's time to leave.
This isn't about expensive renovations or complicated gadgets. It's about building a few simple, powerful habits into your daily routine that make your bathroom an unwelcome place for mould.
Get Your Exhaust Fan Working Overtime
Let’s start with the unsung hero of every bathroom: that noisy little fan in the ceiling. Most of us flick it on when we shower and flick it off the second we're done. That’s a start, but it’s not quite enough to win the war on moisture.
That fan needs to run for at least 20-30 minutes after you've turned the water off. This gives it enough time to pull all the lingering steam and condensation out of the room, not just the visible clouds. It's the moisture you can't see that really causes problems down the line.
But is your fan even doing its job properly? Here’s a quick test I use. Grab a single square of toilet paper and hold it up to the fan vent while it's running. If the fan can hold the paper in place by itself, its suction is strong enough. If the paper falls, your fan is likely clogged with dust or just isn't powerful enough, and it might be time for a good clean or an upgrade.
Go Old School With Windows and Doors
Sometimes the simplest solutions are the most effective. Our grandparents knew what they were doing. If you're lucky enough to have a window in your bathroom, get into the habit of cracking it open after every shower. Even just a little bit makes a huge difference, allowing fresh, dry air to circulate and replace the damp air.
And don't forget the door. Keeping the bathroom door wide open after you’ve used it allows the humid air to disperse into the rest of your home, where it can be dealt with more easily. A closed door traps all that moisture inside, creating that perfect, sauna-like environment mould absolutely adores.
Think of your bathroom as a box. Every time you shower, you fill that box with steam. Your goal is to empty the box as quickly as possible, either by using a fan to suck the steam out or by opening it up to let the steam escape.
Solutions for Stubborn, Windowless Bathrooms
What if you don't have a window? Many modern flats and apartments don't, and these spaces can be real mould magnets. Don't worry, you still have options.
- Bring in a small fan: After your shower, place a small portable fan in the doorway, pointing out of the bathroom. This will actively push the damp air out into a larger space where it can dissipate.
- Invest in a dehumidifier: A small dehumidifier is a fantastic tool for these situations. It will literally pull moisture out of the air, collecting it as water that you can just tip down the drain. Aim to keep the humidity below 50% to seriously inhibit mould growth.
Building these simple habits is the absolute key to preventing mould in your bathroom. It’s all about creating an environment where mould simply can’t get comfortable.
Even with the best ventilation money can buy, mould is a sneaky opportunist. It has a knack for finding its way into the tiniest cracks and crevices of our bathrooms. You know those little discoloured lines in your grout or that bit of silicone peeling away from the bathtub? They're more than just cosmetic annoyances… they're wide-open invitations for moisture to seep in and kick off a mould party.
Think of your bathroom's surfaces as its first line of defence. If the walls are weak, the enemy gets in without a fight. Strengthening these surfaces is like future-proofing your bathroom against a full-blown mould invasion.
Your Grout and Seals Are Ground Zero
In any bathroom, grout and silicone seals are the weakest points in its armour. Grout is naturally porous, and over time, it can absorb water like a thirsty sponge. Old silicone is even worse. It can shrink, harden, and crack, creating perfect little gaps for water to get trapped.
This is why giving them a regular once-over is so important. Once a month, take a really close look at the grout lines in your shower and the seals around your tub, sink, and toilet. Are you seeing any dark spots, crumbling bits, or places where the seal is pulling away from the surface?
Catching these issues early saves you so much grief down the line. A small regrouting job is often something you can tackle yourself on a weekend. But if the problem looks widespread, or if the tiles feel loose and spongy when you press on them, it might be a sign of a bigger water issue hiding behind the wall. That’s when it’s time to call in a professional.
This simple process flow shows how inspecting, repairing, and painting can create a powerful barrier against mould.
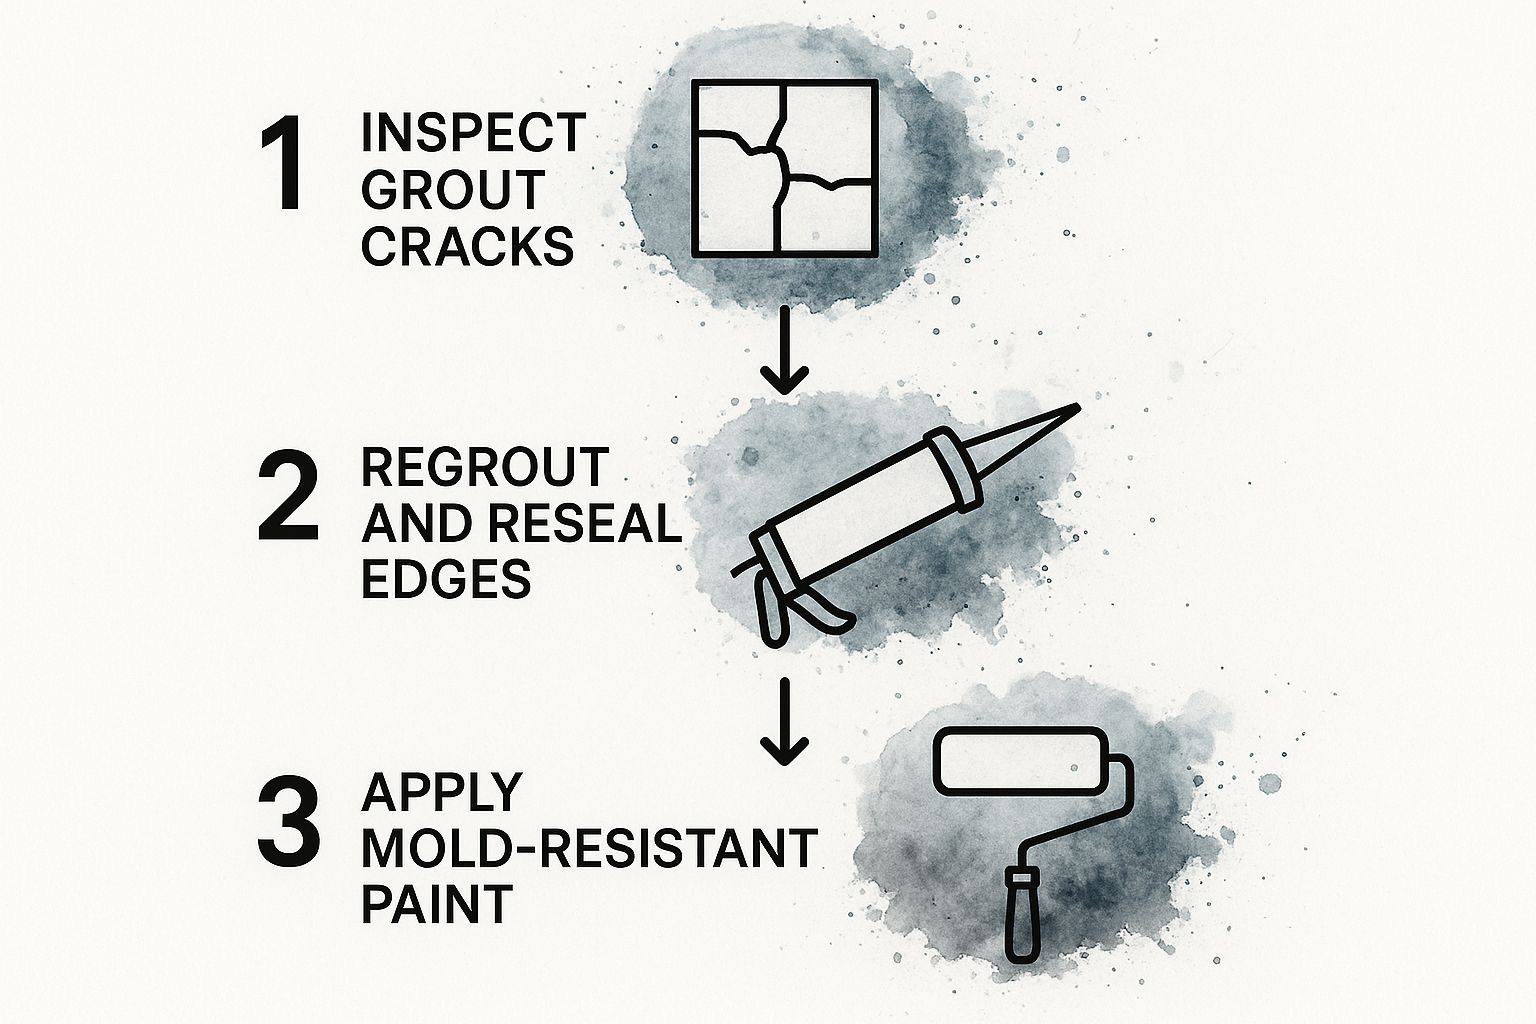
This visual guide breaks down a proactive approach, showing that defence is a multi-step strategy, not just a single action.
Give Your Walls a Raincoat
Let’s talk about paint. Your standard interior wall paint just isn't built to handle the constant high humidity of a bathroom. It can absorb moisture, which not only provides a food source for mould but also causes the paint to bubble and peel over time.
This is where mould-resistant paint comes in. It’s a brilliant invention. These paints are made with special additives, often called mildewcides, that actively stop mould spores from taking root and growing on the surface.
Think of it like giving your walls a raincoat. Water might hit the surface, but it can't soak in and cause trouble. It creates an invisible shield that makes your walls far less hospitable to mould.
When you're next planning to give your bathroom a fresh coat of paint, make sure you choose a product specifically designed for high-humidity areas like bathrooms and laundries. It might cost a little more upfront, but it pays for itself by preventing costly mould problems down the track.
Deteriorating grout and caulking are huge contributors to bathroom mould problems right across Australia. As grout ages, it becomes more porous, and ageing silicone loses its seal, letting water seep into hidden wall cavities. In fact, a case study from Brisbane found that persistent mould in an apartment complex was directly linked to old grout and bad seals, and some companies have seen a 40% drop in mould complaints just by applying these modern, resistant solutions. You can discover more insights about the link between failing seals and mould issues in Australian homes.
By being proactive with your surfaces, you’re not just cleaning… you’re building a stronger, more resilient bathroom from the inside out.
Building a Smarter Bathroom Cleaning Routine
Honestly, nobody gets excited about cleaning the bathroom. I totally get it. But a smart, consistent routine is infinitely less work than tackling a massive mould cleanup down the track.
This isn't about spending hours on your hands and knees scrubbing. It’s about quick, effective habits that stop mould from ever getting a proper foothold. It really is a case of working smarter, not harder.
Hit The Mould Hotspots Weekly
Mould has its favourite places to hang out. By giving these spots a little attention once a week, you disrupt its life cycle before it can even get started. Think of it as preventative maintenance, like weeding a garden before the weeds completely take over.
It's a simple idea with a big impact. Here’s a quick rundown of where to focus:
- Shower Corners and Grout: Give them a quick spray and scrub. This is where soap scum and moisture love to team up, creating a perfect breeding ground.
- Sink Drains: A quick wipe around the drain stops gunk from building up, which is a key food source for mould spores.
- Behind the Toilet: This spot is often missed and can get surprisingly damp. A quick wipe is all it takes to keep it in check.
- Shower Curtain: If you have a fabric one, make sure it’s spread out to dry properly. Give it a proper machine wash every few weeks to be safe.
This whole process shouldn’t take more than 15 minutes, but its impact on preventing bathroom mould is huge. For a more detailed breakdown, our comprehensive mould prevention checklist can help you build an even more robust routine.
To make things even easier, here's a simple table you can follow. It breaks down the essentials into manageable chunks so you can stay on top of things without feeling overwhelmed.
Your Weekly Mould Prevention Checklist
This isn't about deep cleaning. It's about quick, high-impact tasks that keep mould at bay. Stick this on the back of the bathroom door and you'll barely have to think about it.
| Task | Frequency | Why It Matters | Time Commitment |
|---|---|---|---|
| Squeegee Shower | After every use | Removes the moisture mould needs to grow. | 30 seconds |
| Run Exhaust Fan | During/after showers | Vents out steam and reduces humidity. | 20-30 mins |
| Wipe Hotspots | Weekly | Targets corners, grout, drains where mould starts. | 5-10 minutes |
| Spray with Vinegar | Weekly | Creates an acidic surface that mould hates. | 2 minutes |
| Check for Leaks | Monthly | Catches moisture sources before they become big problems. | 1 minute |
Following this simple schedule turns mould prevention into a background habit, not a weekend-destroying chore. It’s the consistency that counts.
My Go-To DIY Mould Prevention Spray
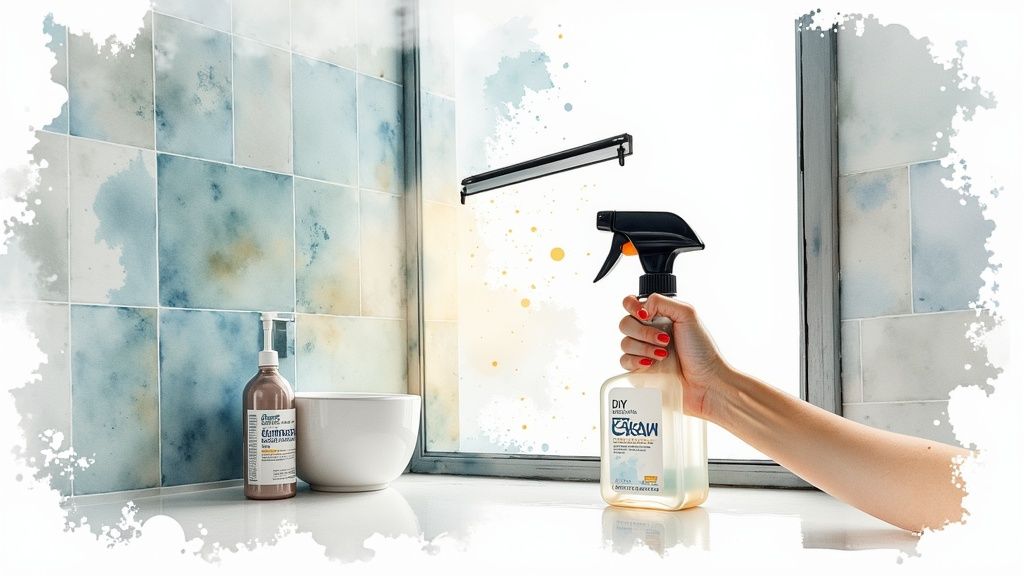
You don’t always need harsh chemicals to keep things in check. For regular maintenance, I swear by a simple homemade spray. It’s effective, cheap, and much kinder on your lungs.
Simply mix equal parts white vinegar and water in a spray bottle. If you want to add a bit more punch, add about 10-15 drops of tea tree oil, which is a natural fungicide.
Just spray this on your tiles, grout, and silicone seals once a week. Let it sit for a few minutes, then wipe it down. The vinegar helps break down soap scum and creates an acidic environment where mould really struggles to grow. Easy.
The 30-Second Habit That Changes Everything
Now for the most powerful anti-mould habit you can possibly build. And it takes less than a minute.
After every shower, grab a cheap squeegee and give the walls and glass a quick wipe-down. It pulls all that excess water off the surfaces, leaving them almost dry. This single action starves potential mould spores of the moisture they desperately need to start growing.
Think about it. No more puddles in the corners. No water sitting on the grout lines for hours. You're removing the number one ingredient for mould growth before it even has a chance to get started.
It might feel like a chore at first, but once it becomes a habit, you won’t even think about it. That 30-second wipe-down does more to prevent mould than an hour of scrubbing once a month ever could. It’s the ultimate proactive step.
The True Cost of Ignoring a Mould Problem
It’s so easy to see a little spot of mould in the shower and think, 'I'll get to it later.' We've all done it. But 'later' can end up costing you a lot more than just a bit of elbow grease and five minutes of your time.
Putting it off is a bit like ignoring a tiny leak in a dam. At first, it's just a trickle, something you barely notice. But that trickle slowly weakens the entire structure until you're suddenly dealing with a flood. That's exactly what mould does to your home.
More Than Just an Ugly Spot
That small patch of black on the grout is only what you can see. The real damage happens behind the scenes. Mould has a nasty habit of eating whatever it's growing on, which is bad news when that 'food' is the timber frame of your house or the plasterboard in your walls.
Before you know it, you’re not just looking at a cleaning job. You’re facing serious structural repairs that can cost a fortune to fix. It can even start to impact your property's value if it becomes a persistent, known issue.
The real danger of mould isn't the visible stain; it's the unseen damage it's doing to your home's bones. What starts as a simple cleaning task can escalate into a full-blown, expensive repair project.
The financial hit from ignoring mould is no small thing. In Australia alone, it's estimated that repairs for mould growth in homes cost around $73 million AUD every single year. This huge figure really highlights why taking those small, preventative steps we've talked about is so important. You can learn more about the financial impact of mould and prevention measures and see just how quickly the costs can add up.
When Prevention Is Cheaper Than the Cure
Let's break it down. A bottle of vinegar for cleaning might cost you a couple of dollars. Running your exhaust fan costs pennies. Fixing rotten wall studs and replacing entire sections of plasterboard? That’s thousands.
It’s a serious topic, but understanding these potential consequences is often the best motivation we have. If the problem has already moved beyond a simple spot-clean, it's crucial to act fast. Getting professional help for a widespread issue is the safest and most effective way forward. Our expert team offers comprehensive mould remediation services to safely remove the problem and protect your home's long-term health. Taking those small, preventative steps today is the best investment you can make in your home and your peace of mind.
Common Bathroom Mould Questions Answered
Still have a few questions floating around? You're not alone. When you’re trying to figure out how to stop mould coming back for good, a few common queries pop up time and time again.
So, let's get straight to it. Here are some no-nonsense answers to the questions we hear the most. Think of this as a quick chat to clear up any lingering confusion.
Is All Black Mould Dangerous?
This is a big one. The short answer is… not necessarily, but it’s always best to treat it with caution. While some types of black mould can be toxic, many common varieties you find in bathrooms aren't the infamous Stachybotrys chartarum.
But here’s the thing. any type of mould can trigger respiratory issues, skin irritation, and allergic reactions, especially in sensitive people. The key takeaway is to treat all mould as an unwelcome guest that needs to go, regardless of its colour.
Your goal isn't to become a mycologist and identify the exact species on your grout. The real goal is to get rid of it and stop it from returning. Every type of mould thrives on moisture, so your prevention strategy stays exactly the same.
Can I Just Paint Over It?
Please, don't do this. Painting over mould is like putting a plaster on a broken arm. It hides the problem for a little while, but it does absolutely nothing to fix it.
Mould is a living thing, and it will simply feed on the new layer of paint and push its way through to the surface again. When it reappears, it’s often worse than before. You have to completely clean and kill the mould first, let the surface dry thoroughly, and then you can think about using a good quality mould-resistant paint.
What If The Mould Smell Won't Go Away?
A lingering musty smell, even after you’ve scrubbed away every visible spot, is a huge red flag. It’s your nose telling you there’s a hidden mould problem somewhere nearby. This is where things can get a bit more serious.
That persistent odour often points to a leak behind a wall, under the floorboards, or in the ceiling cavity. If you can smell mould but can’t see it, it’s time to play detective and look for hidden water damage. Don't ignore it. This is the kind of situation where mould can cause real structural issues. The presence of mould is also linked to other health concerns, and you can learn more about if black mould can cause skin rashes in our related article.
Dealing with a stubborn mould issue can feel overwhelming, but you don't have to tackle it alone. For a safe, effective, and lasting solution, the professional team at That Cleaning Crew is here to help. Get a free, no-obligation quote and restore the health of your home by visiting www.thatcleaningcrew.com.au.